Wednesday, August 31, 2011

Cutest (Handmade) Kids' Halloween Costumes on Etsy

Just in case you've started thinking about Halloween already, I found some amazing kid costumes on Etsy to share with you. (Also check out my picks for the cutest DIY kids' costumes and the best DIY family-friendly adult costumes!)

How cute are these?!


The Little Lion by sweetpeatoadtots

Pebbles and Bam Bam Costumes by RaeGun

Snow White Apron Dress by loverdoversclothing

Drink Me Costume by NotTheKitchenSink

Black Velvet Penguin by thumbelinaworkshop

Beauty and the Beast by tinkerellacreations

Brown Kitty Cat by IraRott

Baby Bird Hat by alpacakids

Max from Where the Wild Things Are by katesy

Lucky Panda by littlegoodall

Baby Owl Hat by HatandColdCrochet
I'm currently hunting down the cutest DIY Kids Halloween costumes to share with you soon. Do you have your kids' costumes yet?

Monday, August 29, 2011

Looking into the Past: Washington, D.C. Then and Now

The other day I heard about a group on Flickr called Looking Into the Past, where people go to the original site of a vintage photograph and take a new photo there. Here's my favorite example:

Looking Into the Past: March on Washington, August 28, 1963

Amazing, isn't it?

Since we just visited the most historical place in the United States, Washington, D.C., I was drawn to jasonepowell's Flickr photostream which is filled with amazing shots of how things have changed in D. C., like the above photo from the March on Washington in 1963.

What draws me to these photos is the feeling of standing in the exact spot where so many others before you have stood, seeing the same (but different) scene, and thinking about what else has happened there that wasn't photographed.

Here are some more of my favorites. As usual, click on the photo for a link to the original photograph as well as a description.

Looking Into the Past: Doing the Charleston at the Cannon House Office Building, Washington, DC

Looking Into the Past: Union Station Square, Washington, DC

Looking Into the Past: Capitol Cornucopia, Washington, DC

Looking Into the Past: Summertime at Tidal Basin, Washington, DC

Looking Into the Past: Newsies, US Capitol

Thanks again to jasonepowell on Flickr for these amazing photos that allow us to look back in time at a city that means so much to our country.

Saturday, August 27, 2011

Safe from Hurricane Irene

Most of you know that we live in North Carolina so I wanted to post an update in the "aftermath" of Hurricane Irene, at least where we live.


It rained. It was windy. That was it (thank you, God).

We don't live on the coast so we weren't too worried, but we did stock up on water, canned food and ice and we got our flashlights and candles out.

Several hours before the hurricane approached the coast of North Carolina, our power went out. We were surprised but figured this would be the worst of it, and that power would be restored within a day or so.

Then we found out that someone drove into a pole down the street and it had nothing to do with the hurricane. Our power was back on in an hour. We shared laughs about it with our neighbors. (But it was a good dry run.)

Psalm 107:1 by mixedmediamama on Etsy
Psalm 107:1 by mixedmediamama

This hurricane has been a reminder of God's power over all of His creation. To see the magnitude of it and know that over 1 million people were evacuated just reminds me how big and powerful He is. We are alive and safe each day only because of His grace and mercy.

Praying for the rest of the East Coast that you'll all stay safe and trust in His unfailing love to give you peace today and always!

Friday, August 26, 2011

How to create a gallery or table of images on your blog (Tutorial) & my new Project Gallery

{UPDATED--see below!}

Did you notice my new Gallery page in my navigation bar? I thought it might be nice to have a Pinterest-style project gallery where you could see my blog posts organized by theme and with thumbnail images. This way you won't have to hunt through the tags or wonder what in the world is Rainbow Ice?  since you can see it all at-a-glance.

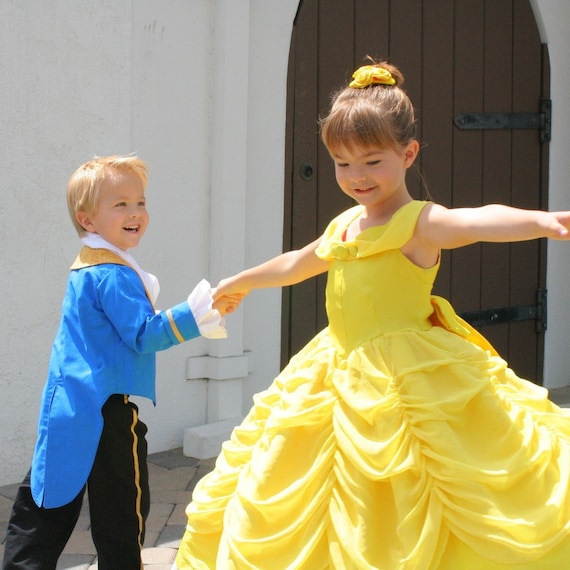
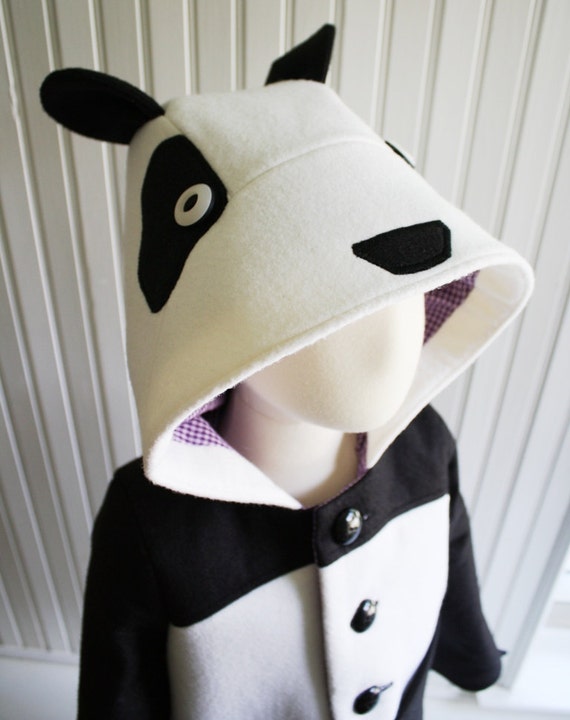
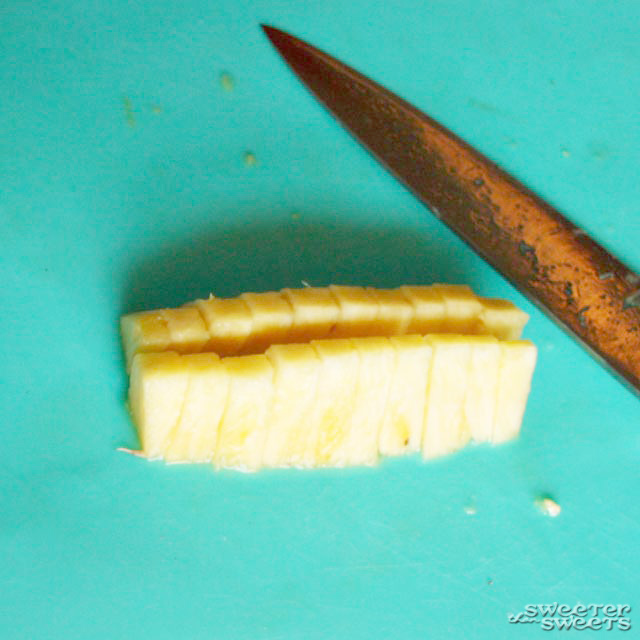
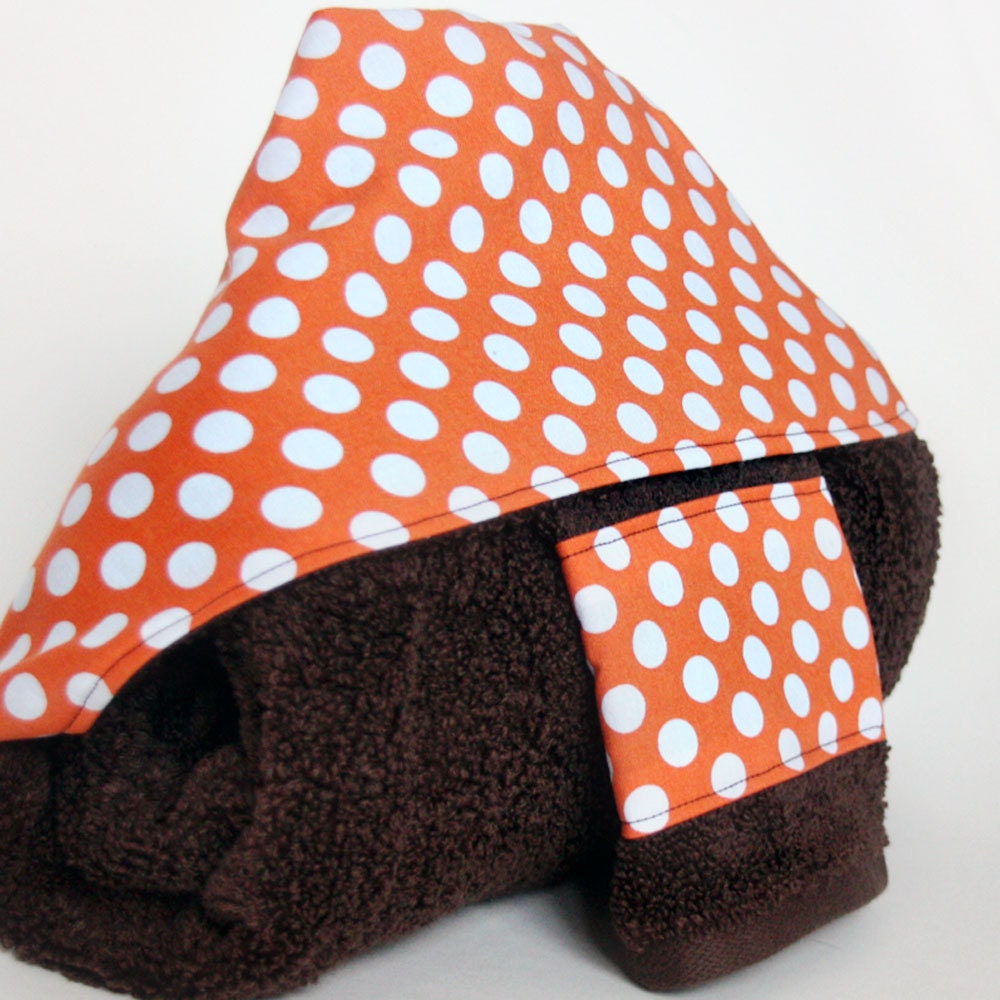
Here are the first two lines of the gallery:

Project Gallery by Tricia @ SweeterThanSweets


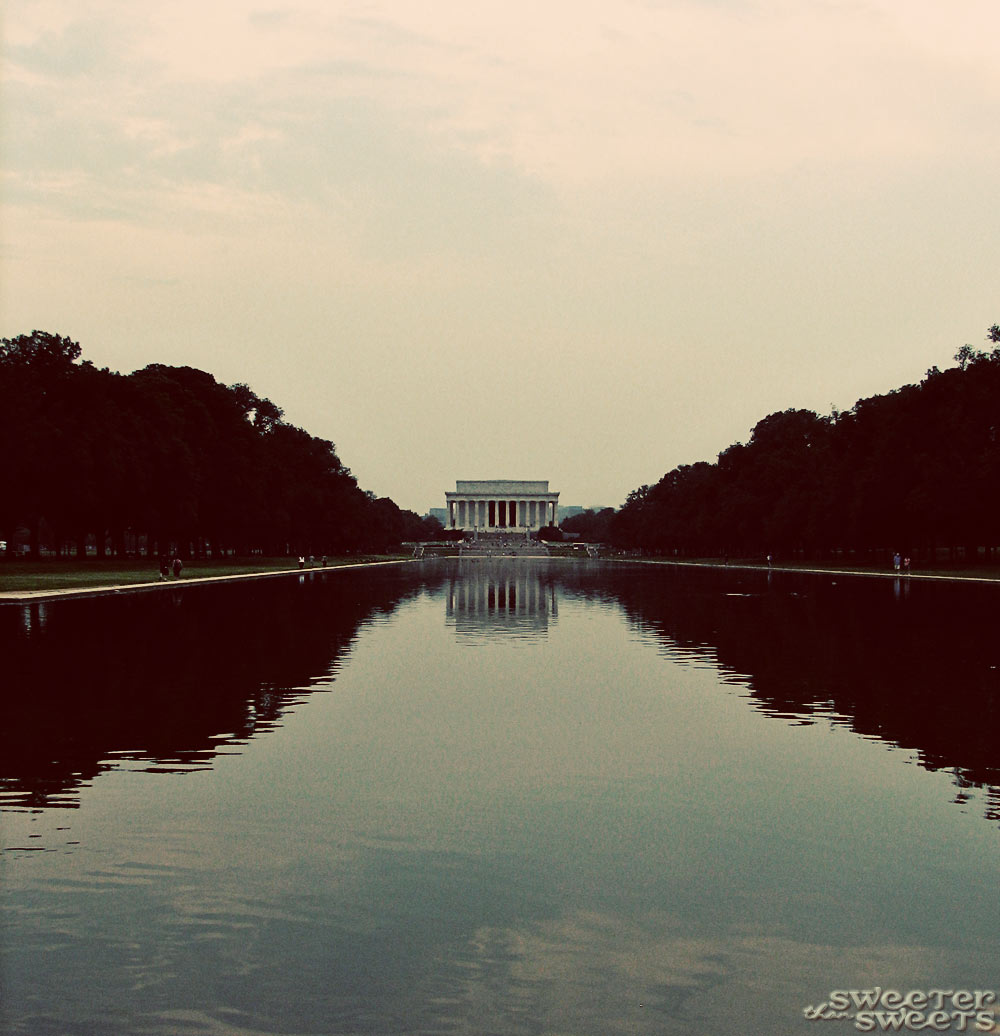
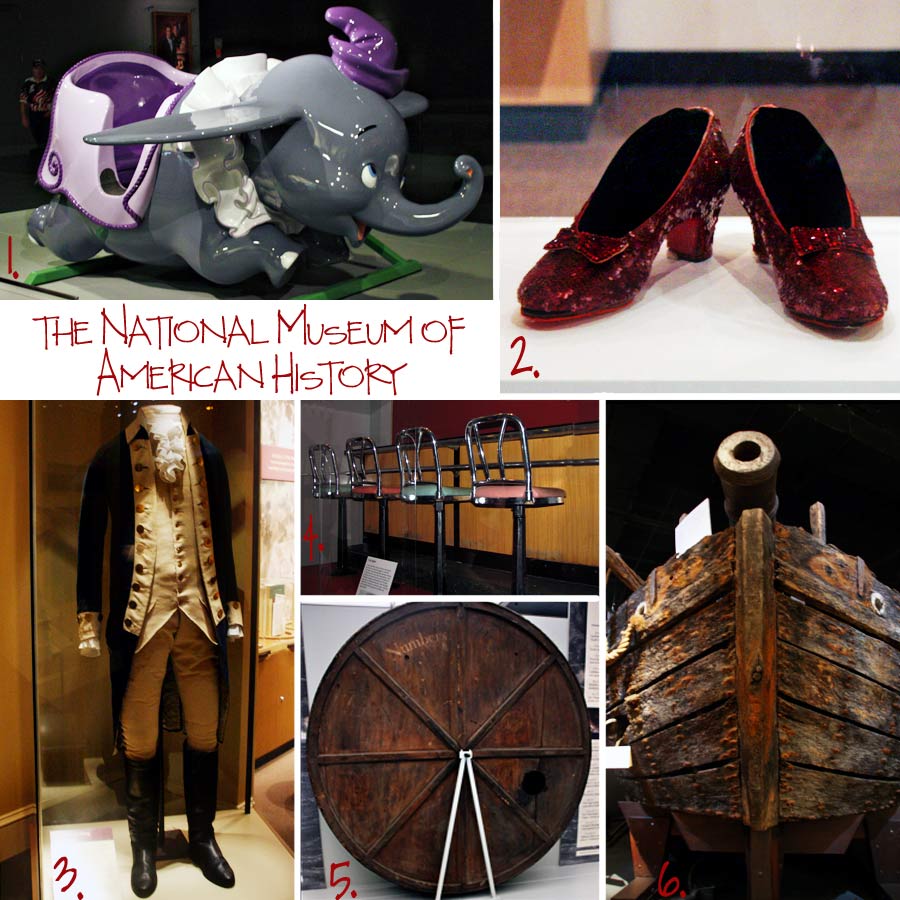
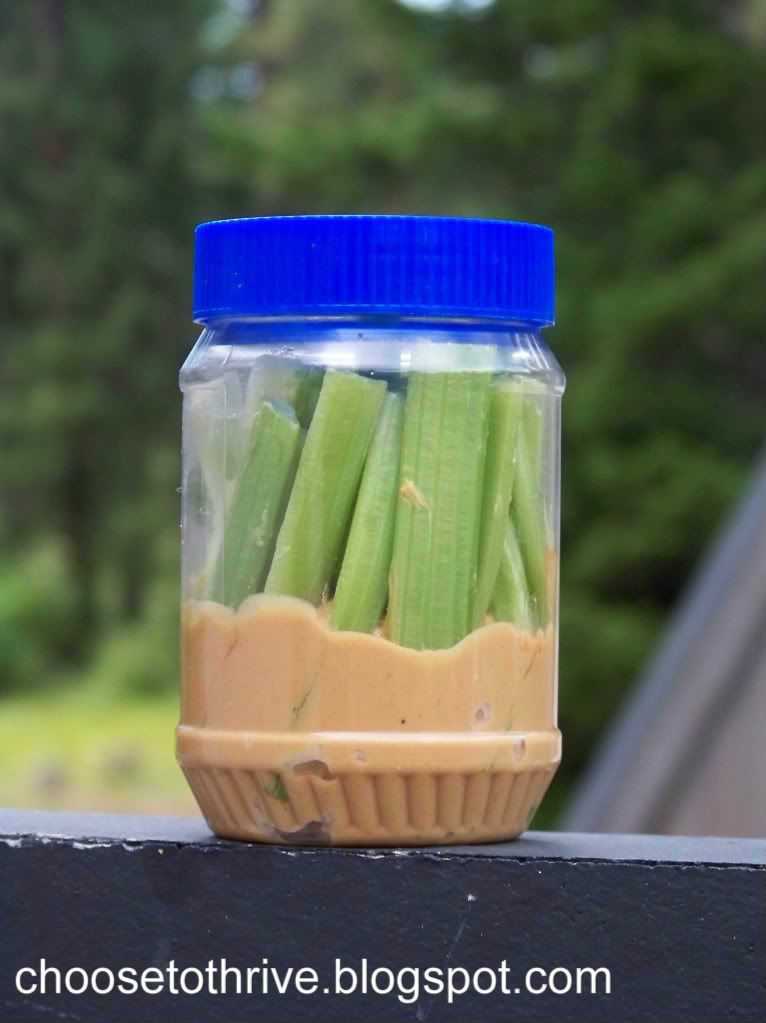
Right now it has my most popular posts in 4 of the 8 categories I usually blog about (Craft, Travel, Learn, Love, Cook, Give, Believe and Inspire). The posts that get the most interest are in the Craft, Travel, Learn and Cook categories so I started with those.

If I add the other 4 categories to the Gallery, could I do away with the "Blog Archive" widget and the "What Am I Talking About?" tag cloud? If you were a first-time visitor to my blog, would you be annoyed that those were not in the sidebar, where you'd usually look?

What do you think?

Okay, now on to the tutorial!

How to create a gallery or table of images:

Want to create your own table of images? You can use a table for your own Project Gallery Page or just to put several images side-by-side in a blog post. (I originally found the code here and modified it to my needs.)

Note: This code will give you clickable images that open in a new page/tab. The caption is not linked to anything and the image is not linked to the original image (which is the default set-up, at least in Blogger). It sets images to be 120 pixels wide, which was the biggest they could be for the width of my blog. Change the width if needed.

Copy and paste the html below and change the blue text accordingly:

<center><table><tbody>
<tr>

<td><table align="center" cellpadding="0" cellspacing="0" class="tr-caption-container" style="margin-left: auto; margin-right: auto; text-align: center;"><tbody>
<tr><td style="text-align: center;"><a href="yourwebsiteurl" style="margin-left: auto; margin-right: auto;" target="_blank"><img alt="yourimagetitle" border="0" src="yourimagesource" width="120" /></a></td></tr>
<tr><td class="tr-caption" style="text-align: center;">yourcaption</td></tr>
</tbody></table></td>

</tr>
</tbody></table>

</center>


{UPDATES}
1. I just repositioned the code above so that it's more clear. Each "paragraph" above represents and individual image. So if you want to add an additional image, copy and paste the following section to add one (or delete this section to have only 3 images per row... just make sure to adjust the widths of each photo to fit your blog's width accordingly):

<td><table align="center" cellpadding="0" cellspacing="0" class="tr-caption-container" style="margin-left: auto; margin-right: auto; text-align: center;"><tbody>
<tr><td style="text-align: center;"><a href="yourwebsiteurl" style="margin-left: auto; margin-right: auto;" target="_blank"><img alt="yourimagetitle" border="0" src="yourimagesource" width="120" /></a></td></tr>
<tr><td class="tr-caption" style="text-align: center;">yourcaption</td></tr>
</tbody></table></td>


2. Also, here's more info on what the blue text means:

Image Title: This can be anything you want. Keep it relevant for SEO purposes. It's also the name that will show up if, for some reason, your image doesn't load on someone's browser. I usually end my image title with "by Tricia @ SweeterThanSweets" if it's a photo that I took.

Image Source: This is the url where the image is located. They all start with http:// and end with .jpg. If your image is hosted on Photobucket or Flickr, you can find the url when you go to the "share" options. If it's a photo that you're uploading onto Blogger, upload into a draft post as you usually would, then switch from Compose to Edit HTML mode. Look for img src=" or just src=" and what follows the quotation mark is the part you need. You don't have to actually publish the blog post to get this code. Once you upload to blogger and get the image source, you can delete the draft if you don't need it. The image was actually uploaded to the internet whether the post was published or not.


Let me know if you have any other questions and I'll update this post if needed!

Tuesday, August 23, 2011

How to Cut a Pineapple - Tutorial

I used to not like pineapple. It's wasn't the taste, it was those gross hard chunks that you have to chomp through. Then, while living in Hawaii a few years ago, I realized that if you cut a pineapple right, you can easily cut out all the hard parts. Hence, this tutorial.


This tutorial may seem silly to some of you who have been cutting pineapples for years, and it's only one of many ways to cut a pineapple. But this method works great and if you've never bought or cut your own pineapple, I hope you'll feel ready to tackle one now!


What you need to cut a pineapple:


a pineapple =)
a big, sharp knife
a cutting board

First, you want to get rid of the two ends of the pineapple. Lay the pineapple on its side and chop off the top and the bottom.


Turn the pineapple onto one of the ends and cut into quarters, right through the center.


Now you want to get rid of the hard middle part. Set aside three of the four quarters for now. While still standing on one end, cut the corner (the middle) off at an angle. Try not to cut too much off but make sure that you've gotten rid off all of the hard part by stabbing into it at several points. The knife should slip right in and out. Trim extra if necessary.


Now cut the quarter into half again while it's still standing on one end. Put aside one of the two sections for now. You'll be working with this eighth of a pineapple from now on.

Trim off the skin of the pineapple by getting as close as you can to the edge while still removing most of those weird brown pock-marks.


I like my pineapple slices really small, so after laying it back down on its side, I cut the pineapple lengthwise again (now it's 1/16th of a pineapple), then slice into chunks.


Now go back to your other quarters and cut them all up in the same way. You'll end up with about 6 cups of chopped pineapple.

There will be a lot of waste but it's inevitable when cutting a pineapple, unfortunately.


If you want to feel a little bit better about how much you're wasting, plant the pineapple top in the ground. That's how they grow!


Mmm, now you can enjoy fresh chopped pineapple instead of the canned stuff.


What is your favorite way to eat pineapple?

Monday, August 22, 2011

Hooded Kids Towel Sets (for Babies, Toddlers & Preschoolers)

If you or someone you know has a baby that is bigger than a bread basket, my hooded kids towel sets are the perfect gift.


Kids won't outgrow these towels by the time they turn 6 months (unlike the store-bought versions) because they're made with full sized bath towels. In fact, they'll fit as long as kids are still into the hooded towel thing! And no pointy-head syndrome here, since I square off the hood when I sew them.

Most of the towels in my shop are eco-friendly because they're fast drying. They're also super-soft (just look for "Deluxe" in the title).

I wanted to share with you some of the towels I've made for customers recently. I absolutely love Michael Miller's Zoology fabric. Here it is in Bloom (the pink) and in Sea (the blue).


I love how they look together... such a cute idea for twins, siblings, cousins or BFFs! The Zoology in Bloom Deluxe Hooded Towel is for sale now in my shop.

Speaking of twins, this set was purchased by one of my customers for newborn twin boys:


I love that they're coordinating fabrics but in different colors


This customer wanted the towels to be personalized with the twins' initials so I made some applique monograms out of the same fabric as the hood. One less thing to fight about when the boys are old enough to worry about whose is whose.


I know people love shopping on Etsy because most sellers offer custom items and personalization. Do you think customers would like it if I offered custom appliqued monograms for an additional $3 per towel?


Now back to work sewing more towels: I've got 4 girl, 2 boy, and 1 gender neutral set on the way to my shop!

Saturday, August 20, 2011

Washington, D.C. - Part 3

I can't get enough of Washington, D.C. I had never been there prior to just a few years ago, but it's one of those cities where you can discover more each time you go, so you want to go back time and time again. Here are a few more of our 1970s-style photos from the capital.

Washington, D.C. by Tricia @ SweeterThanSweets

Washington, D.C. by Tricia @ SweeterThanSweets

Washington, D.C. by Tricia @ SweeterThanSweets

Washington, D.C. by Tricia @ SweeterThanSweets

Washington, D.C. by Tricia @ SweeterThanSweets


I love this last photo, which is a quote by Thomas Jefferson on the walls of the Jefferson Memorial. We watched a movie based on the book by Newt Gingrich, Rediscovering God in America, and I would highly recommend it for its "walking tour" of Washington, D.C. that focuses on the undeniable centrality of God in our nation's history.

Washington, D.C. by Tricia @ SweeterThanSweets


If you missed it, Part 1 has more 1970s-style photos of Washington, D.C. and Part 2 is a collage of items from the National Museum of American History.

Friday, August 19, 2011

National Museum of American History - Washington, D.C. Part 2

I'm interrupting our 1970s-style tour of Washington, D.C. to introduce you to the National Museum of American History. Of all the Smithsonian museums, this one is my favorite. Here are a few of the national treasures that you can find here:

National Museum of American History collage by Tricia @ SweeterThanSweets

1. Dumbo car from the Dumbo ride at Disneyland, 1955
2. Ruby slippers from The Wizard of Oz, 1938
3. George Washington's uniform, 1790s
4. Greensboro Lunch Counter from desegregation sit-in, 1960
5. Civil War draft wheel, 1863
6. The Continental Gunboat Philadelphia, built and sunk in 1776

Can you believe how many amazing pieces of our history are in one building?

The museum also displays beautiful dresses worn by the First Ladies to the Inaugural Balls, relics of scientific history like Thomas Edison's lightbulb from 1879 and the original polio vaccine, modern history pieces like fragments of the Berlin Wall and pop culture items like Michael Jackson's hat. The museum also has a sense of humor, housing Seinfeld's "Puffy Shirt" (1993) and R2-D2 and C-3PO from Star Wars (1982). And the most American of all American symbols, THE Star Spangled Banner!

I could go on and on about this museum. A complete listing of the museum's collections is here. If you're ever in Washington, D.C., the National Museum of American History is a must-see!

We'll be back to our regularly-schedule program (Part 3 of our 1970s-style tour of Washington, D.C.) tomorrow.

Wednesday, August 17, 2011

Washington, D.C. - Part 1

Despite it being back-to-school time for most of the U.S., I'm in a vacation mindset because I'm still playing laundry catch-up from our last getaway of the summer. We had an amazing week in Washington, D.C. and the only thing that could've made it better is if I'd found these awesome Food and Games To-Go ideas before we went!

{I gave my photos a retro vibe using the Photoshop action "Seventies" by the Pioneer Woman. I love her actions!}


Washington, D.C. by Tricia @ SweeterThanSweets

Washington, D.C. by Tricia @ SweeterThanSweets

Washington, D.C. by Tricia @ SweeterThanSweets


Check out Part 2 - A photo collage of items from the National Museum of American History and Part 3 for more 1970s-style photos of D.C.

What do you think of the Seventies action? Would you rather see traditional travel photos next time?

Monday, August 15, 2011

Food and Games To-Go (Road Trips with Kids)

We got back last week from a trip to Washington, D.C. (pictures are here, here and here) and it was an awesome week. I made use of my own travel trips and I got to thinking about all the creative travel products I've seen online lately, thanks to Pinterest and Etsy.

Here are some creative travel food and game ideas for the little ones:

Choose to Thrive's Road Trip Car Snacks


Plum Organic's Baby/Toddler Food Pouches with Spoons
Plum Organic's Baby/Toddler Food Pouches with Spoon


Family Chic's Feeding Kids on Car Trips


The Spoon Sister's Reusable Finger Spoons

Those Greathouse Women's I Spy Bags


Emilee Rose's Paper Doll Sets


Housing a Forest's Travel Timeline


WeeKnit's Finger Puppet Sets


Oh Dee Doh's Bubble Wrap Travel Game


AshleyAnnPhotography.com's DIY Notebook and Crayons
AshleyAnnPhotography.com's DIY Notebook & Crayons


MomsMinivan.com's Printable Travel Games


Melissa and Doug's License Plate Game

Cake's In-Flight Airplane Favor Printables


Prudent Baby's DIY Nap Mat/Bed Roll


JSorel's Spool Knitters
JSorel's Spool Knitters: Teach Your Child To Knit


Do you have a last-minute summer vacation planned?