{UPDATED--see below!}
Did you notice my new
Gallery page in my navigation bar? I thought it might be nice to have a
Pinterest-style project gallery where you could see my blog posts organized by theme and with thumbnail images. This way you won't have to hunt through the tags or wonder
what in the world is Rainbow Ice? since you can see it all at-a-glance.
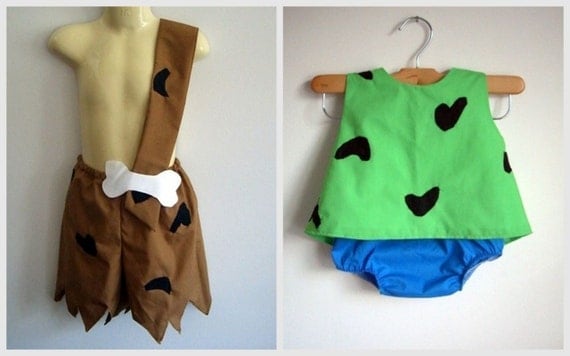
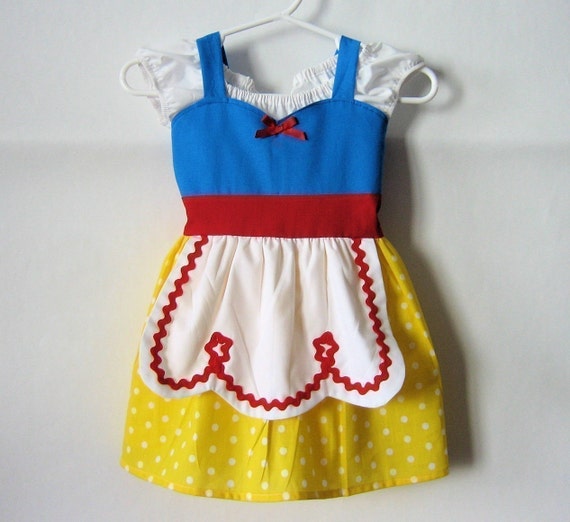
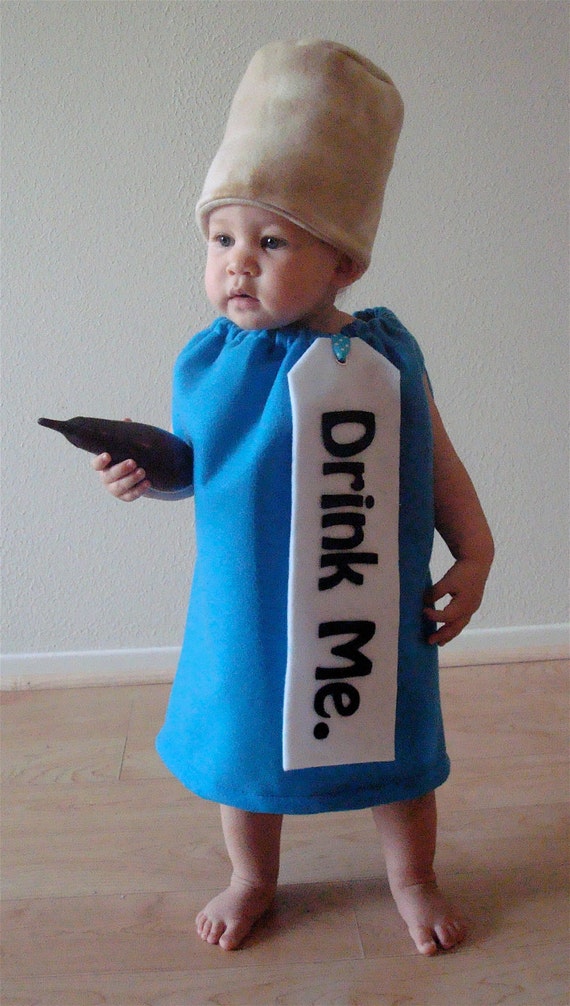
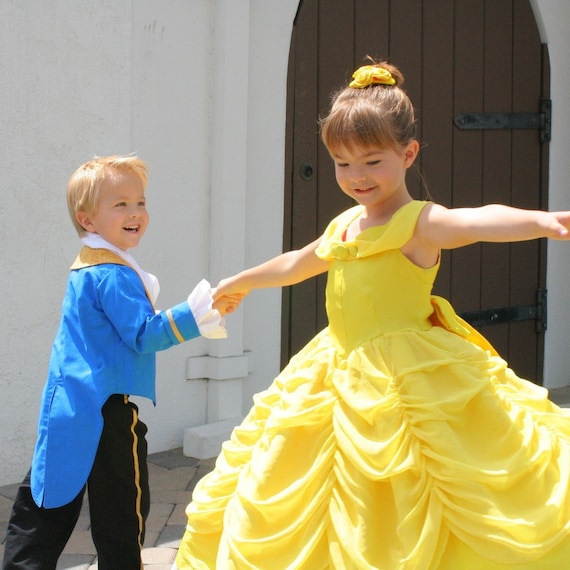
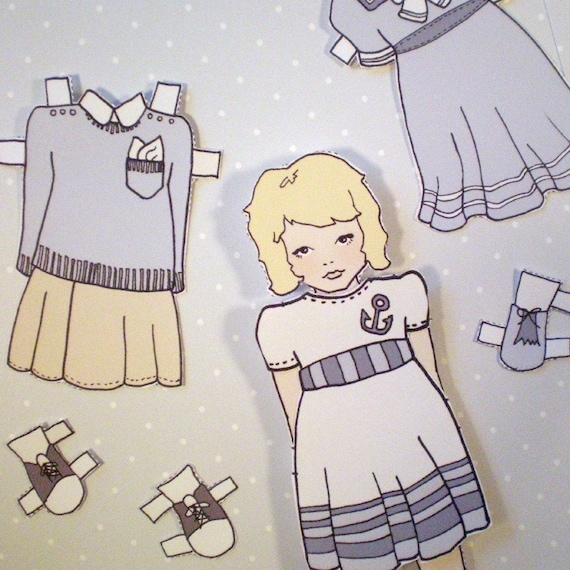
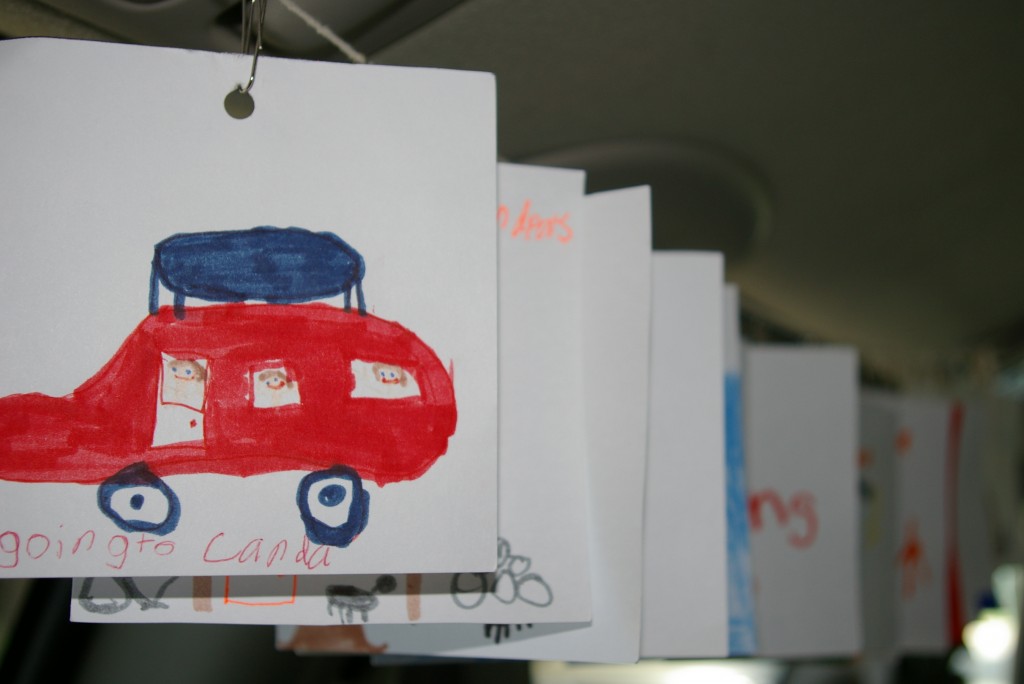
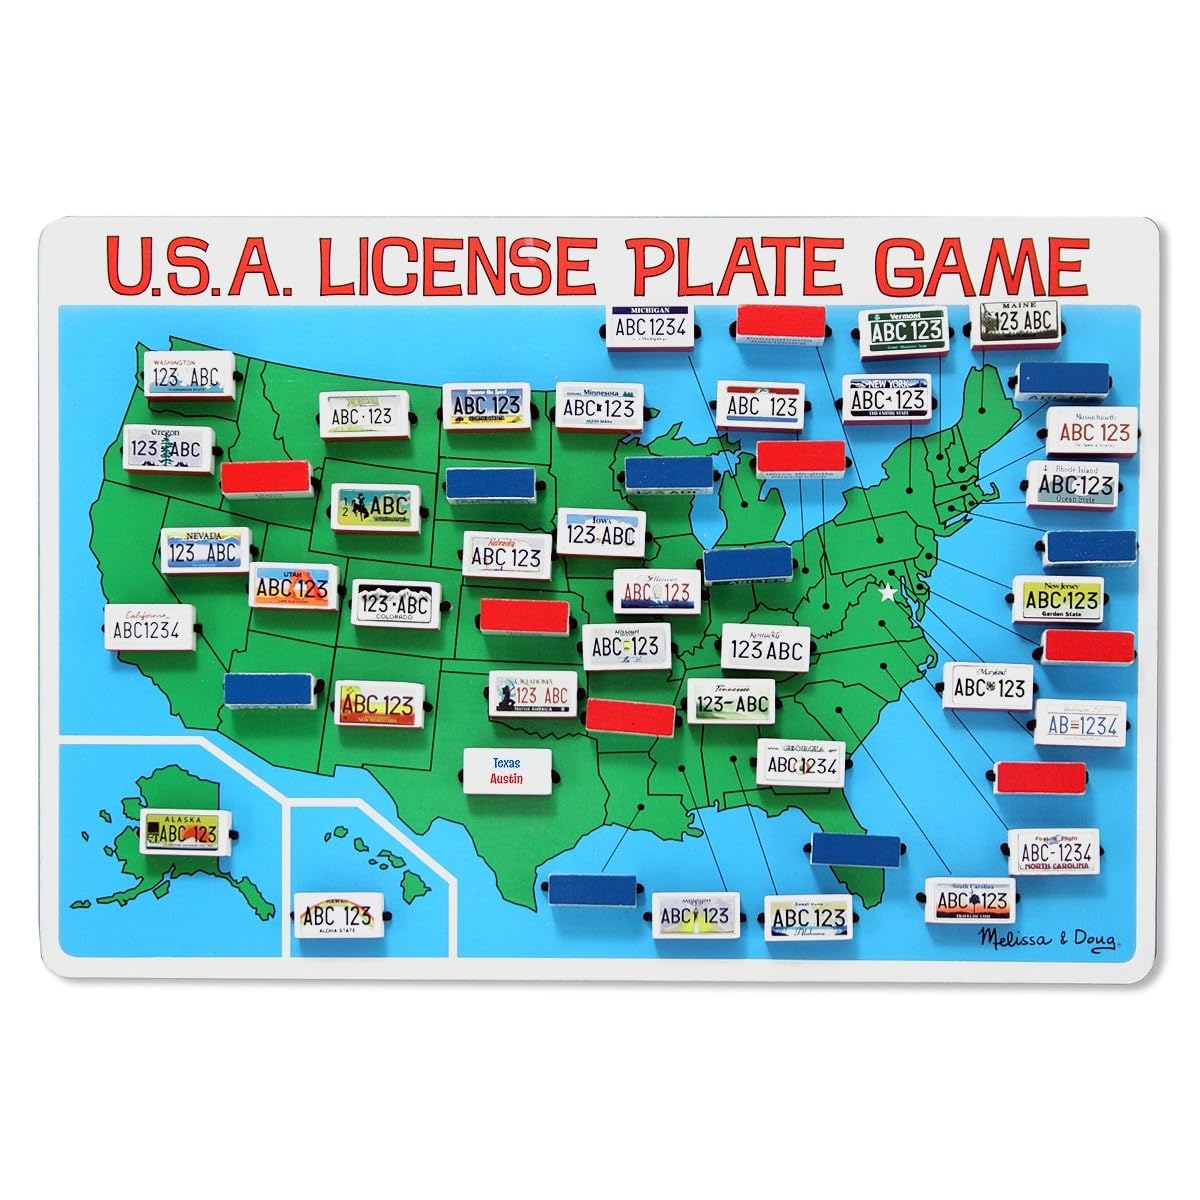
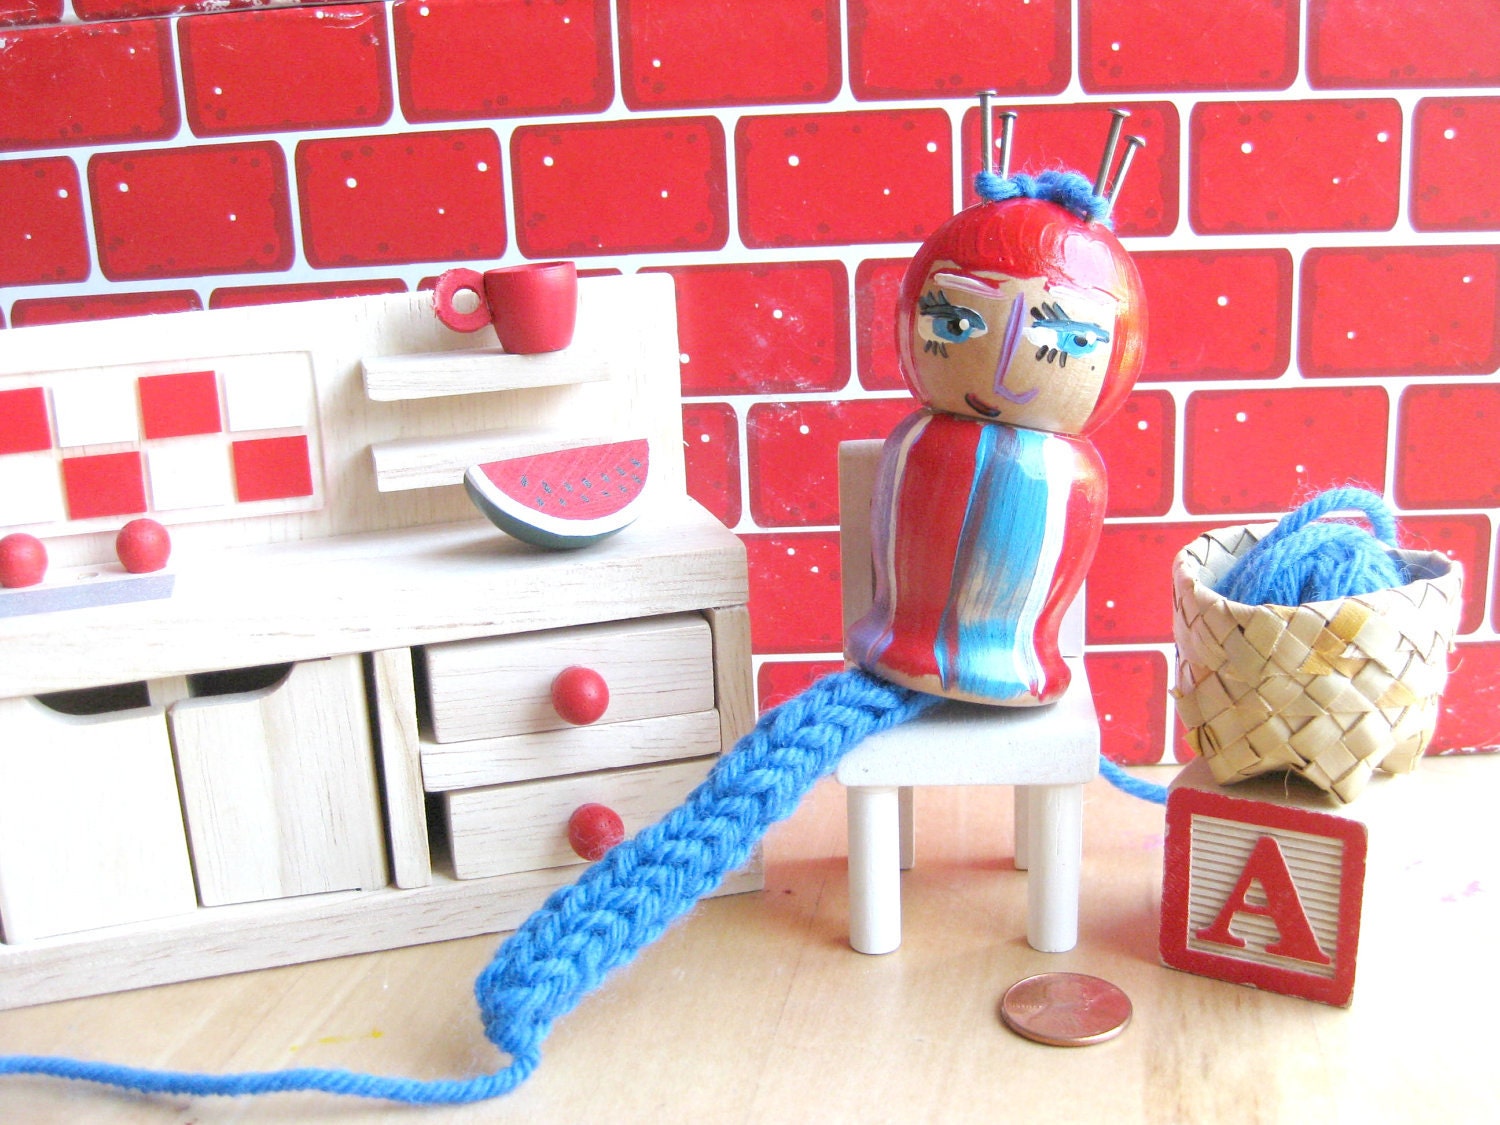
Here are the first two lines of the gallery:
Right now it has my most popular posts in 4 of the 8 categories I usually blog about (Craft, Travel, Learn, Love, Cook, Give, Believe and Inspire). The posts that get the most interest are in the Craft, Travel, Learn and Cook categories so I started with those.
If I add the other 4 categories to the
Gallery, could I do away with the "Blog Archive" widget and the "What Am I Talking About?" tag cloud? If you were a first-time visitor to my blog, would you be annoyed that those were not in the sidebar, where you'd usually look?
What do you think?
Okay, now on to the tutorial!
How to create a gallery or table of images:
Want to create your own table of images? You can use a table for your own
Project Gallery Page or just to put several images side-by-side in a blog post. (I originally found the code
here and modified it to my needs.)
Note: This code will give you clickable images that open in a new page/tab. The caption is not linked to anything and the image is not linked to the original image (which is the default set-up, at least in Blogger). It sets images to be 120 pixels wide, which was the biggest they could be for the width of my blog. Change the width if needed.
Copy and paste the html below and change the blue text accordingly:
<center><table><tbody>
<tr>
<td><table align="center" cellpadding="0" cellspacing="0" class="tr-caption-container" style="margin-left: auto; margin-right: auto; text-align: center;"><tbody>
<tr><td style="text-align: center;"><a href="
yourwebsiteurl" style="margin-left: auto; margin-right: auto;" target="_blank"><img alt="
yourimagetitle" border="0" src="
yourimagesource" width="
120" /></a></td></tr>
<tr><td class="tr-caption" style="text-align: center;">
yourcaption</td></tr>
</tbody></table></td>
</tr>
</tbody></table>
</center>
{UPDATES}
1. I just repositioned the code above so that it's more clear. Each "paragraph" above represents and individual image. So if you want to add an additional image, copy and paste the following section to add one (or delete this section to have only 3 images per row... just make sure to adjust the widths of each photo to fit your blog's width accordingly):
<td><table align="center" cellpadding="0" cellspacing="0" class="tr-caption-container" style="margin-left: auto; margin-right: auto; text-align: center;"><tbody>
<tr><td style="text-align: center;"><a href="
yourwebsiteurl" style="margin-left: auto; margin-right: auto;" target="_blank"><img alt="
yourimagetitle" border="0" src="
yourimagesource" width="
120" /></a></td></tr>
<tr><td class="tr-caption" style="text-align: center;">
yourcaption</td></tr>
</tbody></table></td>
2. Also, here's more info on what the blue text means:
Image Title: This can be anything you want. Keep it relevant for SEO purposes. It's also the name that will show up if, for some reason, your image doesn't load on someone's browser. I usually end my image title with "by Tricia @ SweeterThanSweets" if it's a photo that I took.
Image Source: This is the url where the image is located. They all start with http:// and end with .jpg. If your image is hosted on Photobucket or Flickr, you can find the url when you go to the "share" options. If it's a photo that you're uploading onto Blogger, upload into a draft post as you usually would, then switch from Compose to Edit HTML mode. Look for img src=" or just src=" and what follows the quotation mark is the part you need. You don't have to actually publish the blog post to get this code. Once you upload to blogger and get the image source, you can delete the draft if you don't need it. The image was actually uploaded to the internet whether the post was published or not.
Let me know if you have any other questions and I'll update this post if needed!
