What you need to make a Korker Cake Banner:
grosgrain ribbon in any width (I used 1/8" and 1/4", 1 spool of each color)
dowels (1/4" work best, buy these at craft or hardware stores)
wooden clothespins
cookie sheet
spray starch (optional)
lighter
embroidery floss or string
straws or chopsticks
hot glue or other adhesive
frosted cake
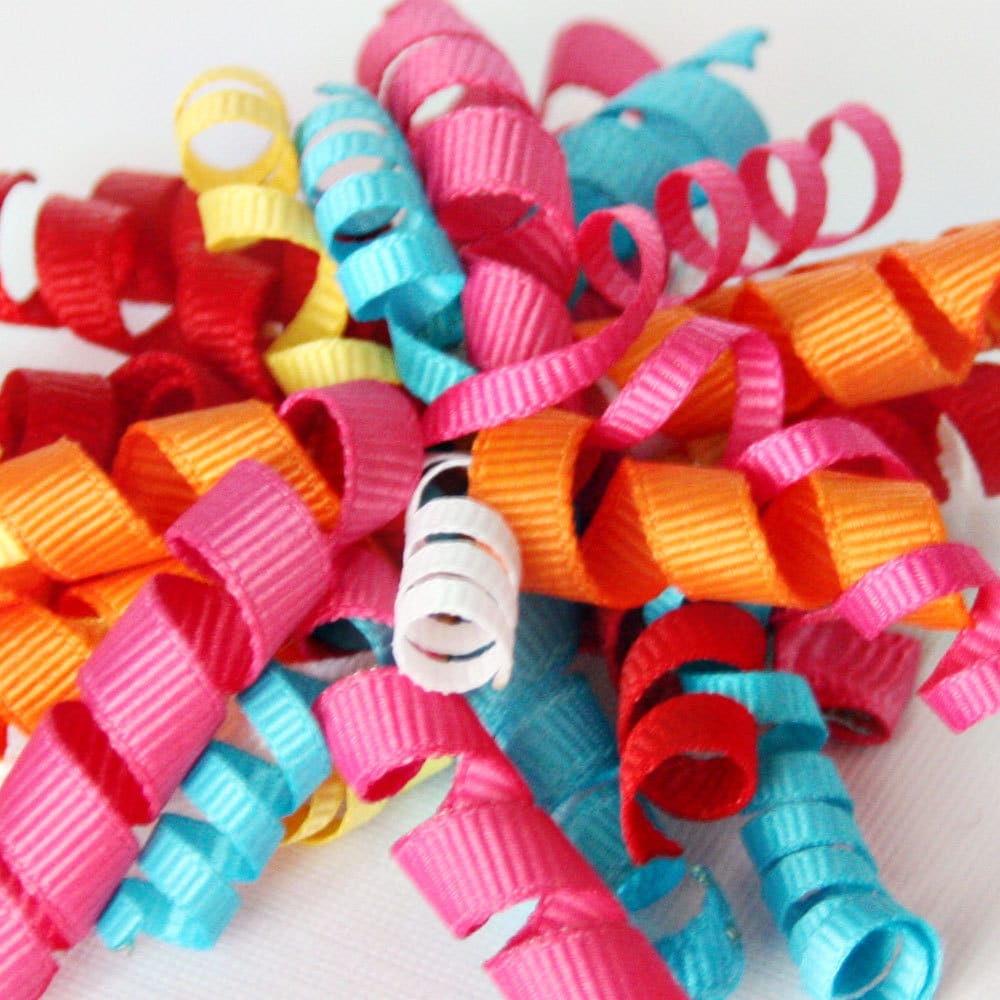
The first thing we're going to do is curl the ribbon to look like korkers. Korker bows are those adorable hair bows with curly-cue ribbons:
Preheat your oven to 275 degrees Fahrenheit. Check to see if your dowels will fit in your oven. If not, cut the dowels to the right size.
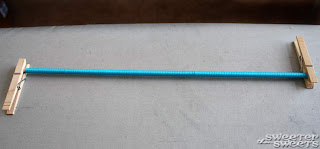
Take one end of ribbon and wrap it around a dowel a couple of times. Then secure it to the end with a clothespin.
Start wrapping the ribbon somewhat loosely, then push it upwards to get as much ribbon on the dowel as possible without overlapping the ribbon.
Keeping wrapping and pushing together until you get to the end of the dowel, then use another clothespin to hold it on. Repeat with as many ribbons as you want.
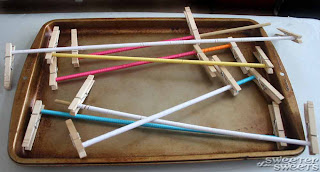
To help the ribbon keep its korker shape, spray with some spray starch (optional). Then place the dowels on top of a cookie sheet and bake in your preheated oven for 25 minutes.
Take the cookie sheet out of oven and let ribbon cool on the dowels, then spray with more spray starch. When they are cool and dry, start unwrapping carefully so as not to tangle or otherwise mess up the cute korker shape of the ribbon. I twist it in the opposite direction to loosen and take it off the dowel little by little.
Now you want to pass a flame quickly over the ends of each korker to seal and prevent fraying. My ribbons turned out to be all different lengths since my dowels were different lengths but I like the look of it.
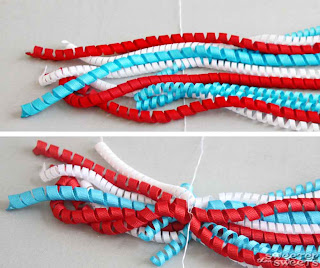
Lay all the ribbons out on a flat surface. Slide a piece of string or embroidery floss underneath one side, making sure to catch all the ends of your ribbons. Then tie a knot on one side. (I found it worked better to just tie one side of the ribbons, then start attaching it to the cake, then tie the other side.) Don't cut the string.
Now put your straws or chopsticks into the cake at whatever angle you want...just be sure they're in the cake deep enough to support the weight of the ribbons (trust me, you'll know when you start attaching the ribbons if they need to go deeper).
So that the string doesn't slide right down the straw, put a dollop of hot glue at the top of each straw. I let it dry and used the dollop just for the knot to rest on, but you could just glue the knot right on there to really secure it to the straw. Attach the first side of ribbons to one straw and try to keep the other end of the ribbons away from your yummy frosting.
Once the first side is on the cake, you'll be able to tell where the other knot will need to be. On my first attempt, I tied both knots ahead of time and ended up cutting one out and re-doing it once the first side was on the cake.
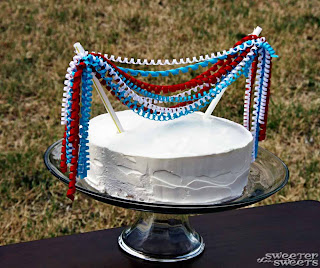
Now tie the other ends of ribbon with your string and attach it to the second straw. Trim (and heat seal) ribbons again if necessary. Ta-da!
This Korker Cake Banner was fun but it's got me thinking about other ways of decorating with korkers, too: party tables, miniature streamers hanging from doorways, garland on a kid's table... hmmm, what else can you think of?









yay! this looks fun for garden party!
ReplyDeletethank you for clear instruction and inspiration!
dita
That's so pretty and fun! I actually haven't cared much for cake banners, but this one is too cute!
ReplyDeleteSuper cute! And I'm really impressed with all the picture taking and labeling! That takes time!!!
ReplyDeleteKorker ribbons are one of my favorite things in the whole world. What a great idea to use them (other than hair bows). Fabulous! :)
ReplyDeleteAWESOME!! I would love it if you would link up to my Tuesday Confessional link party going on now: http://www.craftyconfessions.com/2011/06/tuesday-confessional-link-party.html. I hope to see you soon!
ReplyDelete~Macy
Oh I love these. Thanks for letting me know about them.
ReplyDeleteSuper cute! And so many possibilities with color combination! Thanks for linking up to this week's Catch a Glimpse party.
ReplyDeleteYou have been featured on this weeks Glitter Spotlight!
ReplyDeleteThank you for linking up!
http://runwithglitter.blogspot.com/2011/07/glitter-friday-spotlight-4-1.html
Oh my, this is one of the cutest things I have seen today! I seriously want to bake a cake and try this banner. It would be great for a cake decoration party that I am planning. I would love it if you would share this on my July "It's a Celebration" link party. Everyone should see this!
ReplyDeleteChristina
www.inspirationforcelebration.com
So cute!
ReplyDeleteHave a happy 4th!
Roeshel
Love the korkers! Thanks for the tutorial!
ReplyDeleteSuper fabulous idea!! Good thinking! Looks great too!
ReplyDeleteThis is awesome!! I can't wait to make some.
ReplyDeleteI am having a Red, White and Blue Linky Party that I'd love for you to join in on by adding your link!
http://www.itsybitsypaperblog.com/2011/07/red-white-and-blue-linky-party.html
I featured your amazing post on my "Tuesdays Treasures" post today! Please come and check it out!
ReplyDeletehttp://sweetcsdesigns.com/archives/1132
Thank you so much for linking up to my Red, White and Blue Linky Party!
ReplyDeletewww.itsybitsypaperblog.com
Really awesome post! Thanks for linking it up at the Creative Bloggers' Party & Hop :)
ReplyDeleteBtw, I also have a blog party called Market Your Biz and Giveaways. Please feel free to link up to have them promoted :)
So fun! I love this. Amanda, at CraftGossip, forwarded me this submission and I'll plan on featuring today at EdibleCrafts.CraftGossip.com :)
ReplyDeletedarling! thanks for linking ; )
ReplyDeleteLove this tutorial. Link it up to my Party Tutorial contest for a chance to win some fabulous prizes: http://www.purejoyeventsblog.com/2011/09/party-tutorial-contest-3.html
ReplyDelete