Monday, May 30, 2011

in memoriam

For love of country they accepted death and thus resolved all doubts, and made immortal their patriotism and virtue.

--James A. Garfield, United States President
Spoken at the first observance of Memorial Day
at Arlington National Cemetary
on May 30, 1868

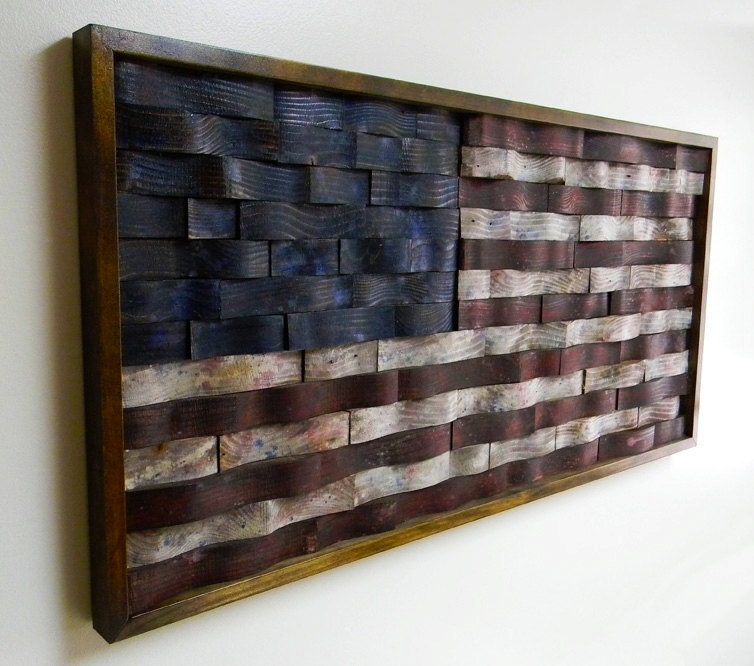
Recommissioned Flag No. 4 by msjarmer on Etsy
Recommissioned Flag No. 4 by msjarmer

I don't have much to say but that today we are remembering those who have died to serve our country. My thanks and prayers go to the Families and loved ones of those who have sacrificed everything for people they never knew.

Friday, May 27, 2011

Upcoming Series: Travel with Toddlers and Babies, and Giveaway Winner Announced

How could it possibly be the last Friday of May already?

With the summer travel season fast approaching, I've been working on a new series starting next week. It's called Travel with Toddlers and Babies and each Friday, I am writing a post full of tips on traveling with toddlers and babies. (I'll also let you know what my "qualifications" are--and are not--for writing these tips.)

Chalkboard World Map by shopsirtsa on Etsy
Chalkboard World Map by shopdirtsa

As you start planning your summer travels, let me know if you have any questions that I might be able to address (or find someone that could). Email me or leave a comment--I'd love to write about what you want to read about. =)

Also, don't forget to use your coupon code for SweeterThanSweets on Etsy by May 31st - enter "homesweethome" as the coupon code when checking out for 20% off your entire purchase (not including shipping).

Okay, on to the good stuff... the winner of the Super Baby Food book giveaway! Thank you all for your entries to win this wonderful book. And the winner is...

Random.org winner for Super Baby Food book on HowSweeterItIs

Deanna from Deanna Time!

I'll be emailing her to let her know she won and she'll have 48 hours to get back to me.

Thanks for helping make my first giveaway a success. And welcome to all my new readers and followers!

Thursday, May 26, 2011

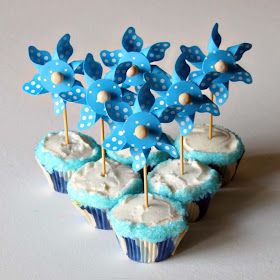
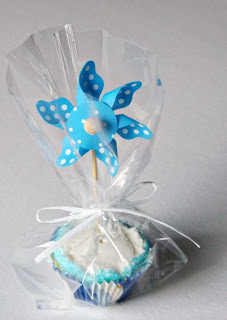
Pinwheel-Topped Cupcakes - Tutorial

This past year I've been blessed to be a part of a great group of women at our local MOPs (Mothers of Preschoolers) group. We meet for MOPs just once a month and I look forward to it all month! It's a great time to relax with other moms and learn from each other about how to be a better mom.

I sat at the blue table this year and decided that for our last meeting, I'd make the girls at my table some cupcakes topped with pinwheels, of course in a blue color scheme.

Pinwheel-Topped Cupcakes by SweeterThanSweets

It was a fun treat for the moms and their kids. I'm going to share a "tutorial" with you on how to make these, though I feel strange calling it a tutorial... It's more of a way to add some fun to what would otherwise be a plain treat for birthday parties, gifts , Memorial Day BBQ's, or for your own little sweeties!

What you need to make Pinwheel-Topped Cupcakes:

Pinwheel-Topped Cupcakes by SweeterThanSweets

cupcakes
frosting
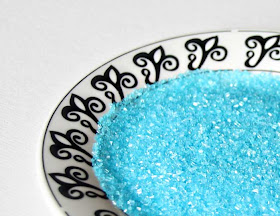
colored sugar
knife
pinwheels or other fun toppers
wire cutters

Think of all the fun things you could top cupcakes with! I found these pinwheels at Hobby Lobby on sale for 60 cents each. They were just a bit too tall to be able to stand up on their own in the cupcakes, so the first thing I did was cut them with my Sweets' wire cutters. (I think I get more use from them than he does.)

Pinwheel-Topped Cupcakes by SweeterThanSweets

Then wash the part that's going to be in the cupcake. I mostly did this since I knew some of the girls at my table might be reading this tutorial. (Just kidding.)

Pour some of the sugar onto a small plate. I ended up using maybe 1/8 of a cup (or 1 ounce) of sugar.

Pinwheel-Topped Cupcakes by SweeterThanSweets

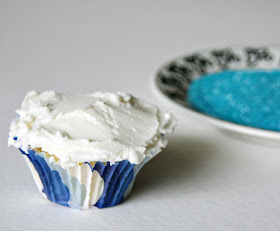
Frost your cupcake with your favorite frosting. My favorite is Wilton's buttercream recipe... unfortunately, it is so yummy that I could (and do) eat this stuff by the spoonful. I use clear vanilla, found in the cake section of craft stores, so the frosting stays white.
 
Pinwheel-Topped Cupcakes by SweeterThanSweets

It doesn't have to be pretty, as you can see. Nobody's really looking at the frosting (did you?). But this is one time when you want a "muffin top": Make sure there's enough frosting to overlap the edges a bit. =)

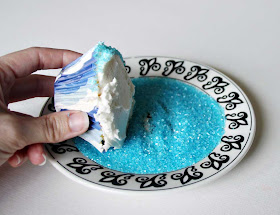
Then you're going to roll the cupcake in the sugar. This will squish in the edges and make it look a bit cleaner, too.

Pinwheel-Topped Cupcakes by SweeterThanSweets

Now pop in your pinwheel or other fun topper and if you're serving these at your house, you're all done!

Pinwheel-Topped Cupcakes by SweeterThanSweets

If you need to transport them like I did, put each one in a cellophane bag and tie a ribbon around the stick in between the pinwheel top and the cupcake.

Pinwheel-Topped Cupcakes by SweeterThanSweets

I'm going to miss my blue MOPs table this summer!

Do you want to join a local MOPs group next school year? Click here to find your nearest group. They are in 36 countries around the world!

Tuesday, May 24, 2011

Giveaway ending Friday!

Just a quick post to remind you to enter my giveaway for the Super Baby Food book! You can enter through Friday, May 27th at 7:00 a.m. EST. If you don't have kids, this book would be a great baby shower gift for a friend or co-worker! You can also learn how you can eat healthy yourself--there's a huge section on how to choose, prepare and store all kinds of fruits and vegetables.

I have loved reading your comments/entries to win this book. One of my favorite things about blogging is learning from each other! Here are a few of the healthiest foods you've fed your kids:
  • lightly sauteed asparagus
  • gluten-free chicken fingers
  • quinoa
  • avocado
  • veggies with Greek yogurt dip
  • Super Baby Porridge (recipe from Super Baby Food)
  • chicken, rice and squash nuggets
  • breastmilk
  • kale
  • ants on a log (celery with peanut butter and raisins)
  • fruit smoothies
  • tofu
So fun! I haven't tried giving Little Sweets some of these foods and you're inspiring me (especially the chicken and squash nuggets and the quinoa). A lot of your ideas are explained in the book, too.

You're also making Homemade Fruit Leather and I'm so excited since it's such a healthy snack for toddlers!

Go enter the giveaway if you haven't yet and remember, you get 4 entries but please leave a separate comment for each entry.

Monday, May 23, 2011

Photo Marbles Tutorial

Have you ever seen a fridge without a photo on it? They are kind of sad and lonely-looking.

Here's a way to spice up your fridge! These would make great gifts for Dad on Father's Day, for a high school grad moving away from home, or for your kids' teacher to say Thank You!


What you need to make Photo Marbles:

digital photos
printer paper
clear, flat marbles*
Mod Podge
paint brush
magnets (make sure they're smaller than the marbles)
hot glue gun or superglue

*Note on the marbles: I got mine in the floral section of Michael's but they're also available here and here. Pick any size you want, but make sure they're clear and not iridescent. See the difference here? The two on the left are iridescent and the two on the right are clear:


First you'll need to figure out how big your photos need to . Using a photo editing program, do a trial run (or two) and print some small, cropped photos. Make sure the whole face fits under the marbles!

Then, print up a page full of the correct size photos. If you're making this for a gift, you can keep it a surprise by "borrowing" pictures from their Facebook page. (Since the printed size is so small, even low quality/small photos work great for this project--just make sure the color and lighting are decent.)

Now you're going to cut the photos to fit the marbles. I like to just hold the paper in place while I cut. You could also trace an outline but it takes longer and I tend to be a lazy crafter sometimes. We don't need perfection here. =)


Time to Mod Podge. Paint a thin layer of Mod Podge on your marble, then lay your photo right-side down onto the glue. Press down firmly to adhere photo to marble and look at the front to make sure there aren't globs of glue anywhere. Try not to move the photo around after you lay it on the glue (if you move it too much, the color from the printer ink will start to smudge), just press straight down.

If the photo edge extends past the marble, trim it up. Then Mod Podge another thin layer and lay upside-down to dry.


Now it's time to add the magnets. I put a dollop of hot glue on one side of the magnet and adhere it to the back of the photo marble.


Side note on the magnets: I used super-strong magnets which was probably a mistake. Since I was mailing them as gifts and packaging them together, the magnets kept getting stuck together and the magnets were coming unglued. An obvious solution is to not buy the super-strong ones. Or you can put them in a magnetic box or on a magnetic strip when mailing so they stick to that and not each other.

Update: One of my readers mentioned that super glue works better than hot glue if you're going to use the strong magnets, which is advisable so they don't fall apart and become choking hazards. Thanks, Cheryl!


All done!


Think about all the other things you could do with these marbles:
  • Use patterned cardstock and make cute generic magnets to have on hand for a quick and easy gift
  • Print up the letters of the alphabet in a cute, easy-to-read font for kids to practice spelling
  • Use photo marbles to hold up important papers for each member of the family (a fridge filing system?)
  • Buy giant marbles and make paperweights or coasters
  • Print words and your families' names and make your own set of "magnetic poetry"
What other ideas do you have for this craft?

Saturday, May 21, 2011

making Great Strides for CF

This past weekend, our family took part in our local Great Strides walk. It was a fundraiser for the Cystic Fibrosis Foundation (CFF) which is now very near and dear to our hearts. Last Fall, we registered for the walk in honor of a friend... Then, a few days before the walk, our newborn nephew was diagnosed with CF. Here is the cutie pie, now 7 months old:

my nephew by SweeterThanSweets

Thanks to our amazing family and friends, we were able to raise over $800 this year!! We feel so blessed to be able to do something so small (walking a 5K) that can hopefully bring blessings to others.

When the CFF representative at the walk told us that our chapter's walk this weekend raised over $10,000, I couldn't stop my tears. It gave me hope that in my nephew's lifetime, we can find a cure for CF. So thank you everyone who gave!!

Cystic Fibrosis is a genetic disease that brings with it a host of lung and digestive issues. Research and awareness of CF has led to HUGE gains in terms of life expectancy: In the 1960s, life expectancy for someone with CF was only 4 years. In 2000, it was 32 years. Now, it's up to 37.4 years and increasing.

If you want to be part of the cure, find a Great Strides walk in your area at http://www.cff.org/great_strides/. Nearly 90 cents of every dollar of revenue raised is invested in vital CF programs to support research, care and education.

Thursday, May 19, 2011

Super Baby Food book giveaway

{Giveaway Closed. Thanks everyone for entering!}

Did you read about how to make Homemade Fruit Leather last week? Well Ruth Yaron, author of Super Baby Food, did and she wants to give one of my lucky readers a free copy of her book!

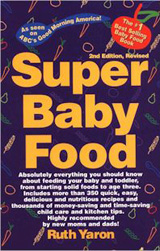
Super Baby Food by Ruth Yaron

When Little Sweets was starting solids, Super Baby Food was the ultimate reference book for me! This is the book I used to get her to eat tofu as finger food, to learn how to cook kale and mix it into her oatmeal, to figure out how to make my own rice cereal, to experiment with growing my own sprouts, and even to teach myself how to eat healthier!

I learned so much from Super Baby Food and I still use it for healthy toddler treats like the Fruit Leather. I know you will love this book if you want to learn how to feed your little ones healthy food.

How to Enter:
(up to 4 entries per person--leave a separate comment for each entry)
  • Comment on this post and tell me about the healthiest food you've made (or would make) for your kid(s) (1 entry) 
  • Follow my blog (1 entry - If you already do, comment that you already follow it)
  • Tweet or link on Facebook or blog about this giveaway or my blog (1 entry)
  • Become a fan of SweeterThanSweets on Facebook (1 entry - If you already are, comment that you already are a fan)

Please make sure that I have access to your email address so I can contact you if you win!

Giveaway ends next Friday, May 27th at 7:00 a.m. EST. Open to U.S. and Canada entries only. Winner will be chosen via random.org and will be mailed 1 copy of the book, Super Baby Food, by the folks at www.superbabyfood.com.

Good luck!

Tuesday, May 17, 2011

Monday, May 16, 2011

Red, White & Blue - new patriotic hair clips from SweeterThanSweets on Etsy

For once I am ahead of the game with my Etsy shop and the upcoming patriotic American holidays!
May 30: Memorial Day
June 14: Flag Day
July 4: Independence Day
    Here are my latest patriotic creations:

    patriotic hair clips by SweeterThanSweets

    To celebrate being ahead of the game, I am having a sale! Use coupon code "homesweethome" for 20% off all purchases in my Etsy shop now through May 30th.

    And to my international readers, I know you probably don't want to wear an American flag in your hair, but think of all the mix-and-match possibilities with the top and bottom two sets.

    I am working on a patriotic craft tutorial to be posted soon. I'm so excited that mine is already on display in my house!

    P.S. Do you know anyone that actually celebrates Flag Day?

    Friday, May 13, 2011

    Sneak Peek

    I have a few things in the works right now and I'm so excited to share them with you!

    Here's your sneak peek:


    These are close-up photos of two new craft tutorials and two new lines that will soon be added to my store. I can't wait to share them with everyone! Also...

    I'm excited to be hosting my first giveaway soon! Stay tuned to my blog in the next few days and you'll have your chance to win.

    Tuesday, May 10, 2011

    Homemade Fruit Leather

    I made homemade baby food as often as possible when Little Sweets was a baby. She loved 99% of everything I gave her, including tofu for finger food, barley cereal and oatmeal with kale (which she still eats every day and won't have her oatmeal any other way!).
    Homemade Fruit Leather by SweeterThanSweets


    Super Baby Food by Ruth YaronNow that she's older, I thought I'd try making Homemade Fruit Leather. I followed the directions from Super Baby Food by Ruth Yaron, the same book I used as a reference for all the healthy baby food I made her.

    What a healthy and fun treat, right? Just pureed, dried fruit... no weird ingredients or added sugar.


    What you need to make Homemade Fruit Leather:

    Strawberries by SweeterThanSweets

    strawberries (or any other fruit or combination of fruits)
    your oven

    Preheat your oven to 175 degrees Fahrenheit.

    Prep a 10"x15" cookie sheet (with edges): Place a layer of plastic wrap a little longer than cookie sheet on top and smooth it out. Tape plastic wrap onto cookie sheet along all four edges.

    Puree clean, dry fruit in a food processor or blender. You'll want approximately 2 cups of puree, but no more unless your cookie sheet is bigger than 10"x15". I used 25 medium-sized strawberries to get the right amount, which filled up my tiny food processor:

    Homemade Fruit Leather by SweeterThanSweets

    Pour pureed fruit onto prepared cookie sheet. Spread into all the corners and make sure it is evenly distributed. Cook in oven for 3-4 hours with door slightly open, or until fruit is thoroughly dried and pulls away from plastic wrap easily. (A more energy-efficient method is to cook it for 30-35 minutes in a 275 degree oven, then turn oven off and leave door closed overnight or for 8-10 hours.)

    Homemade Fruit Leather by SweeterThanSweets

    My cookie sheet (or oven?) was tilted a bit so I had one corner that was a bit mushy and didn't end up setting well, but the rest dried to a thin and slightly crispy leather.

    At this point, you can just peel the fruit leather off the plastic wrap and eat it right away, or you can turn your fruit leather into homemade Fruit-By-The-Foot. Take the tape off the cookie sheet and roll up the plastic wrap from one of the shorter sides:

    Homemade Fruit Leather by SweeterThanSweets

    Use a sharp knife and cut through roll every 1" or so. When you are ready to eat it, remove plastic wrap and you'll have a 15" strip of fruit leather:

    Homemade Fruit Leather by SweeterThanSweets

    Little Sweets definitely enjoyed this healthy fruit treat!

    It definitely saves you money, as Ruth Yaron points out in her book. Fruit Roll-Ups cost about $6.00 per pound, so if you're buying or growing fresh fruit for less than that, you're going to save money.

    Making Fruit Leather is pretty time-intensive and a lot of work to get ten 1"x15" strips (especially since Little Sweets eats like 3 strips at a time) so I'll probably just make it when I have extra fresh fruit on hand. It's a great way to use up slightly overripe fruit, too!

    {Giveaway for the Super Baby Food book is closed}

    Sunday, May 8, 2011

    How much is a Mom worth?

    As a Mom (or a woman for that matter), you know how much you do to take care of your home, family and life. But can you quantify it? I read about this tool from Salary.com to calculate exactly how much you should be getting paid as a Mom based on number and age of children, what you do at your "job", and cost of living.

    Today, I got my first paycheck as a stay-at-home-mom! Here it is:

    my first paycheck by SweeterThanSweets

    Since Little Sweets is 2 1/4 years old now, that means my salary as a stay-at-home-mom thus far has been $254,745. My mom's earnings total $2,417,003 from her 22 years of raising three children as both a working mom and a stay-at-home-mom.

    Playing pretend is fun and in this case, gratifying, to put a number on all that hard work we moms do each day (hour). But it goes without saying that I would trade $113,220 annually to be with my baby girl who is turning into a little lady before my very eyes. Otherwise, why would I keep doing what I do?

    Give your Mom (or yourself!) a paycheck today. Or like most of us do already, trade the paycheck in for hugs, kisses and love... and make all the work worthwhile.

    Thank you, Mom, for the 2.4 million dollars' worth of time, love, attention, discipline, wisdom and strength you've given me.

    Happy Mother's Day to all the mommies!

    Saturday, May 7, 2011

    The Greatest Two Minutes in Sports

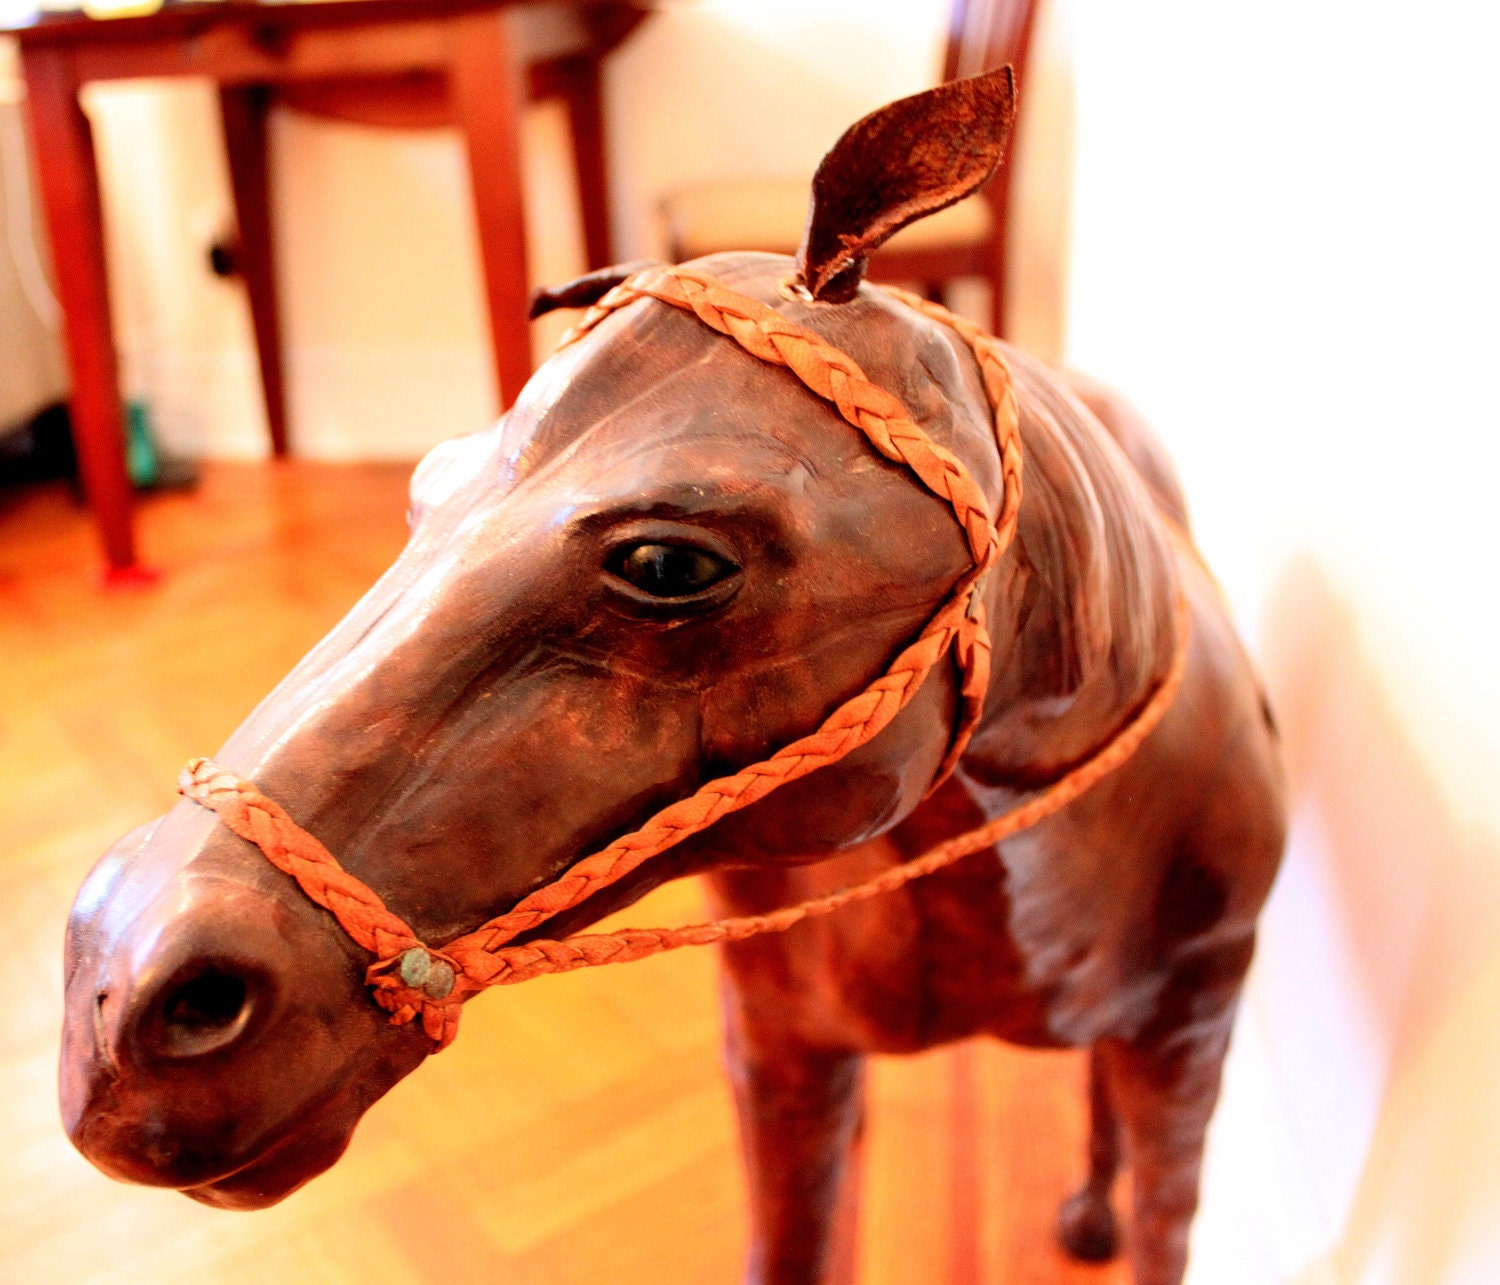
    I have to admit that I've never paid much attention to the Kentucky Derby, said to be "the greatest two minutes in sports."

    British Equestrian Leather Horse Sculpture by Fivehands
    British Equestrian Leather Horse Sculpture by Fivehands

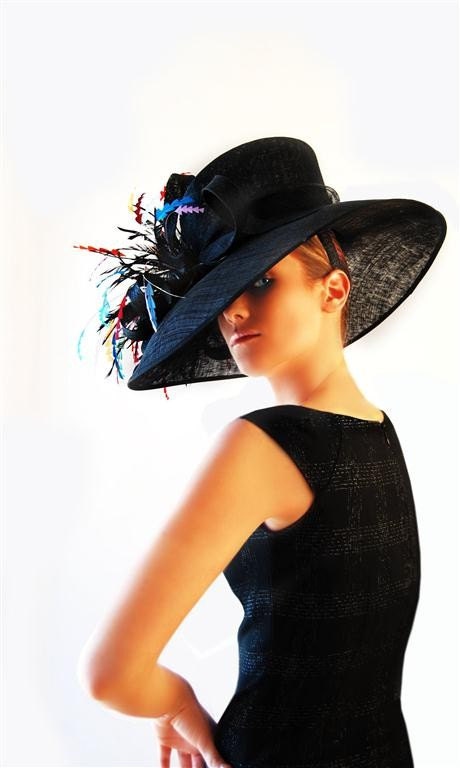
    But after the Royal Wedding, I'm so intrigued by those amazing, beautiful and odd hats that will surely be on display at the Derby today.

    Sinamay Feather Kentucky Derby Hat by lilacpop
    Sinamay Feather Kentucky Derby Hat by lilacpop

    If you are planning your outfit for a Derby party, you must check out the official Kentucky Derby's guide to Women's Attire. You'll find some very suitable hat options for sale at Taissa Lada Designs, ArturoRios and lilacpop. You might also want to stop by Stiletto Sports Magazine's Girl's Guide to the Kentucky Derby.

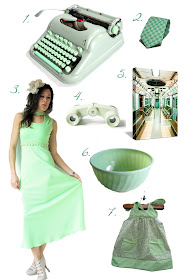
    The other thing that intrigues me about the Kentucky Derby is a Mint Julep. I've never tried one but I just might have to today. I created a treasury inspired by the drink that is the legend. Over 120,000 of them will be served today! Here are a few of my favorite mint julep-inspired finds on Etsy:

    Mint Julep by SweeterThanSweets


    Are you craving a Mint Julep yet? Get the official Mint Julep recipe. Then come back here and let me know if they actually taste good. =)

    Friday, May 6, 2011

    Jell-O Fail

    If you're a child of the 80s, you should remember this amazing dessert:

    Jell-O 1-2-3

    Jell-O 1-2-3. One package, three layers of yummy goodness. How do they do it? The secret may be going down with that box that was discontinued many years ago...

    I found a recipe on Kraft's website and tried it. Just like a lot of reviewers said, it came out as Jell-O 1-2. No "3". So I tweaked the recipe, and tried again. And tweaked and tried and tweaked and tried. I vowed to give up with my fourth try in 2 weeks.

    Then I found a different recipe with powdered creamer and powdered egg whites instead of Cool Whip, so I tried for a fifth time. And guess what I made...

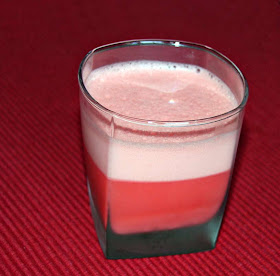
    Jell-O 1-2-3 by SweeterThanSweets

    That's right, Jell-O 1-2, again! Only this time there was a gritty twist to it, as you can imagine with those ingredients. Unless one of my lovely readers can give me a recipe and promise that it will make that elusive third (regular Jell-O) layer, I am giving up. But more of my attempts at creative cooking will be coming very soon!

    I'm still dying to know what the Jell-O 1-2-3 secret is.

    Wednesday, May 4, 2011

    Save your dresses

    Little Sweets wore a dress yesterday that she also wore 2 years ago: it's a Carter's dress (size: 3 months)! If you're the mama of a little girl, save all those baby dresses that you love so much so that she can wear them as shirts when she's older. (Some dresses won't work, though. If it's tight in the armpits or around the chest, don't hold on to it.)

    Here are a few adorable infant dresses I found on Etsy that would absolutely work for a toddler shirt:

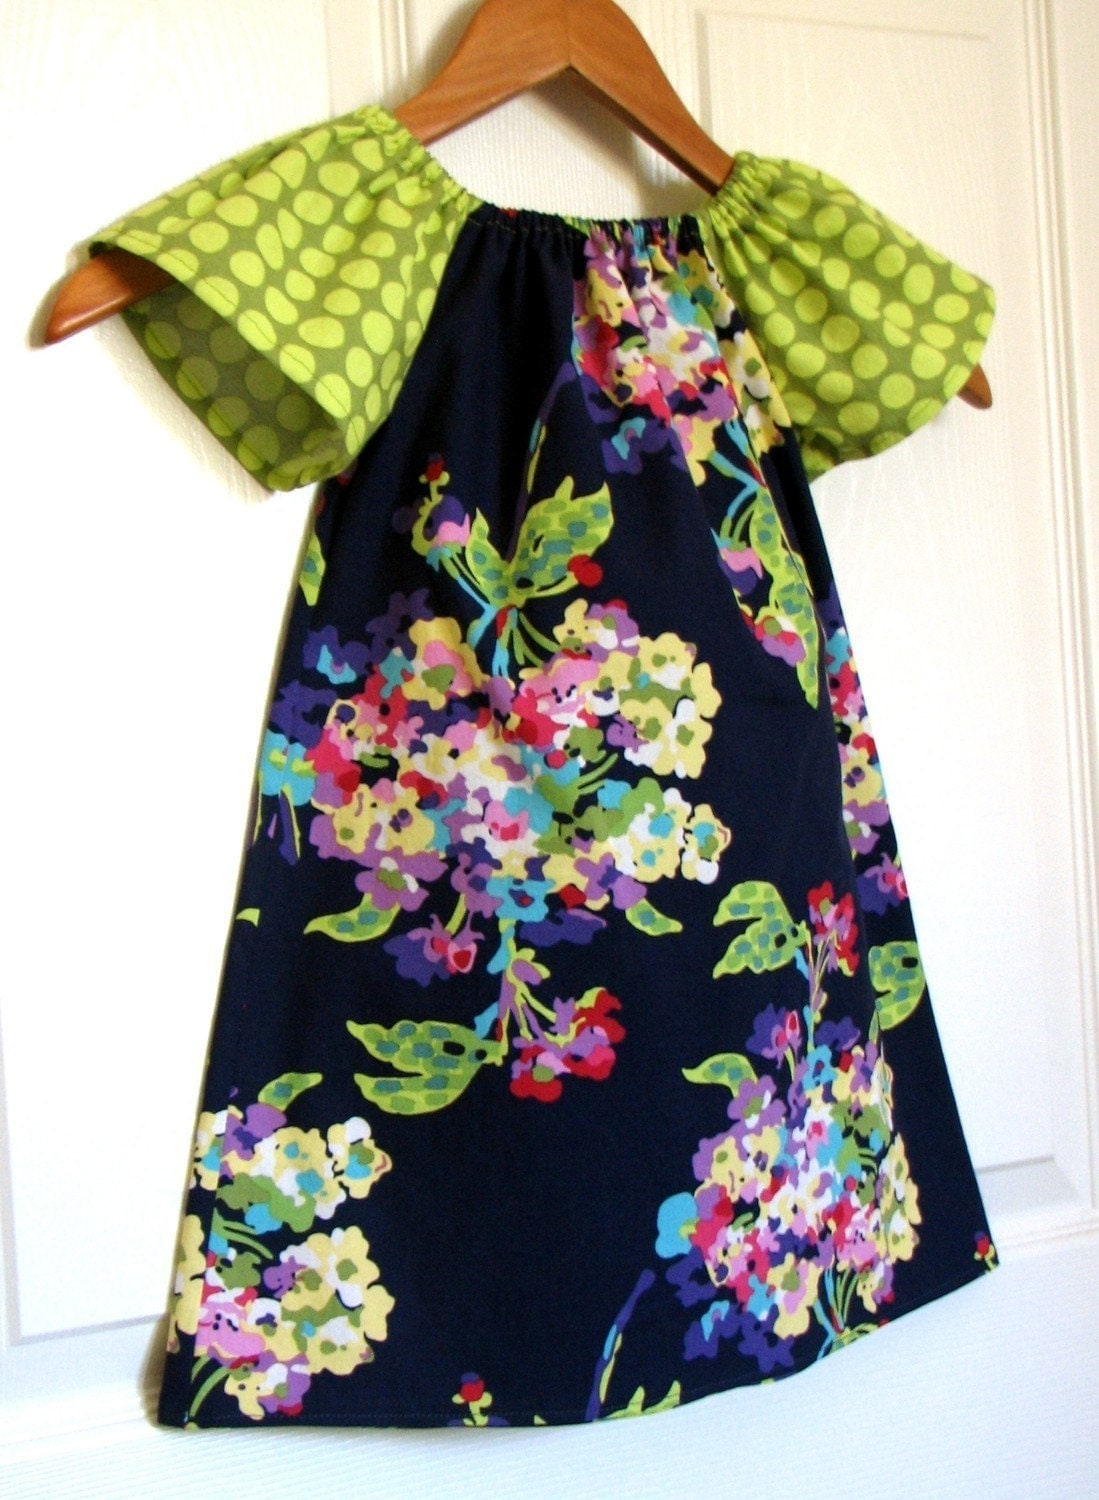
    Modern Peasant Dress by ButterflyBabyPlace
    Modern Peasant Dress by ButterflyBabyPlace


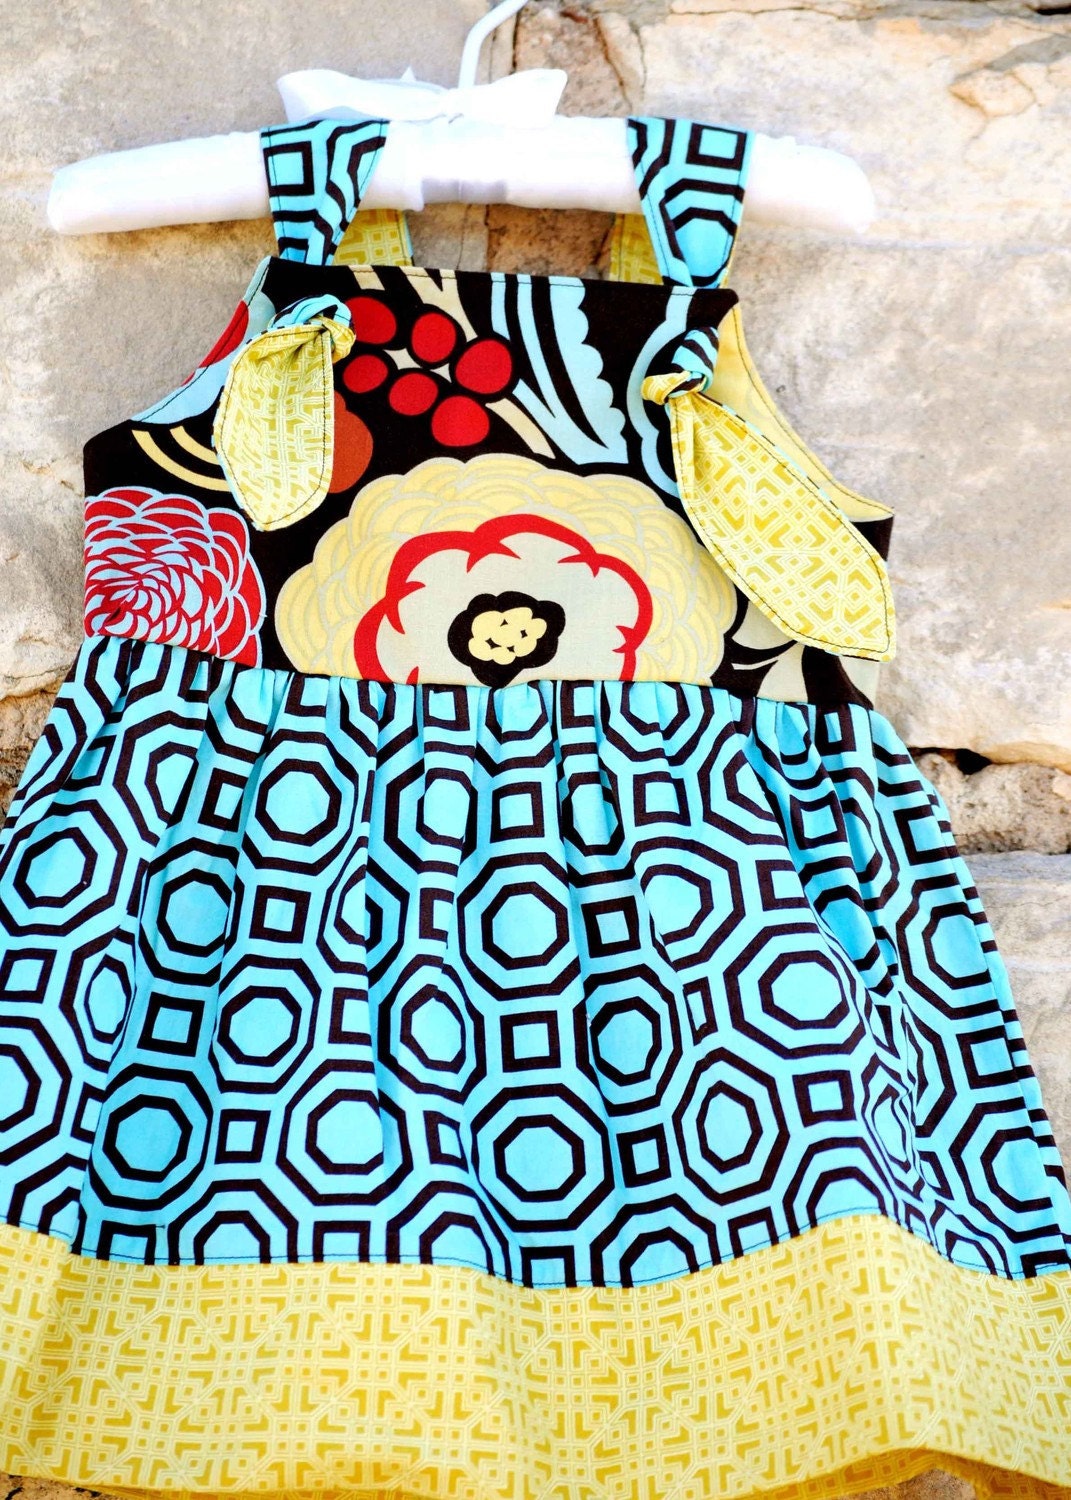
    Holly Knot Dress by elizabelle
    Holly Knot Dress by elizabelle


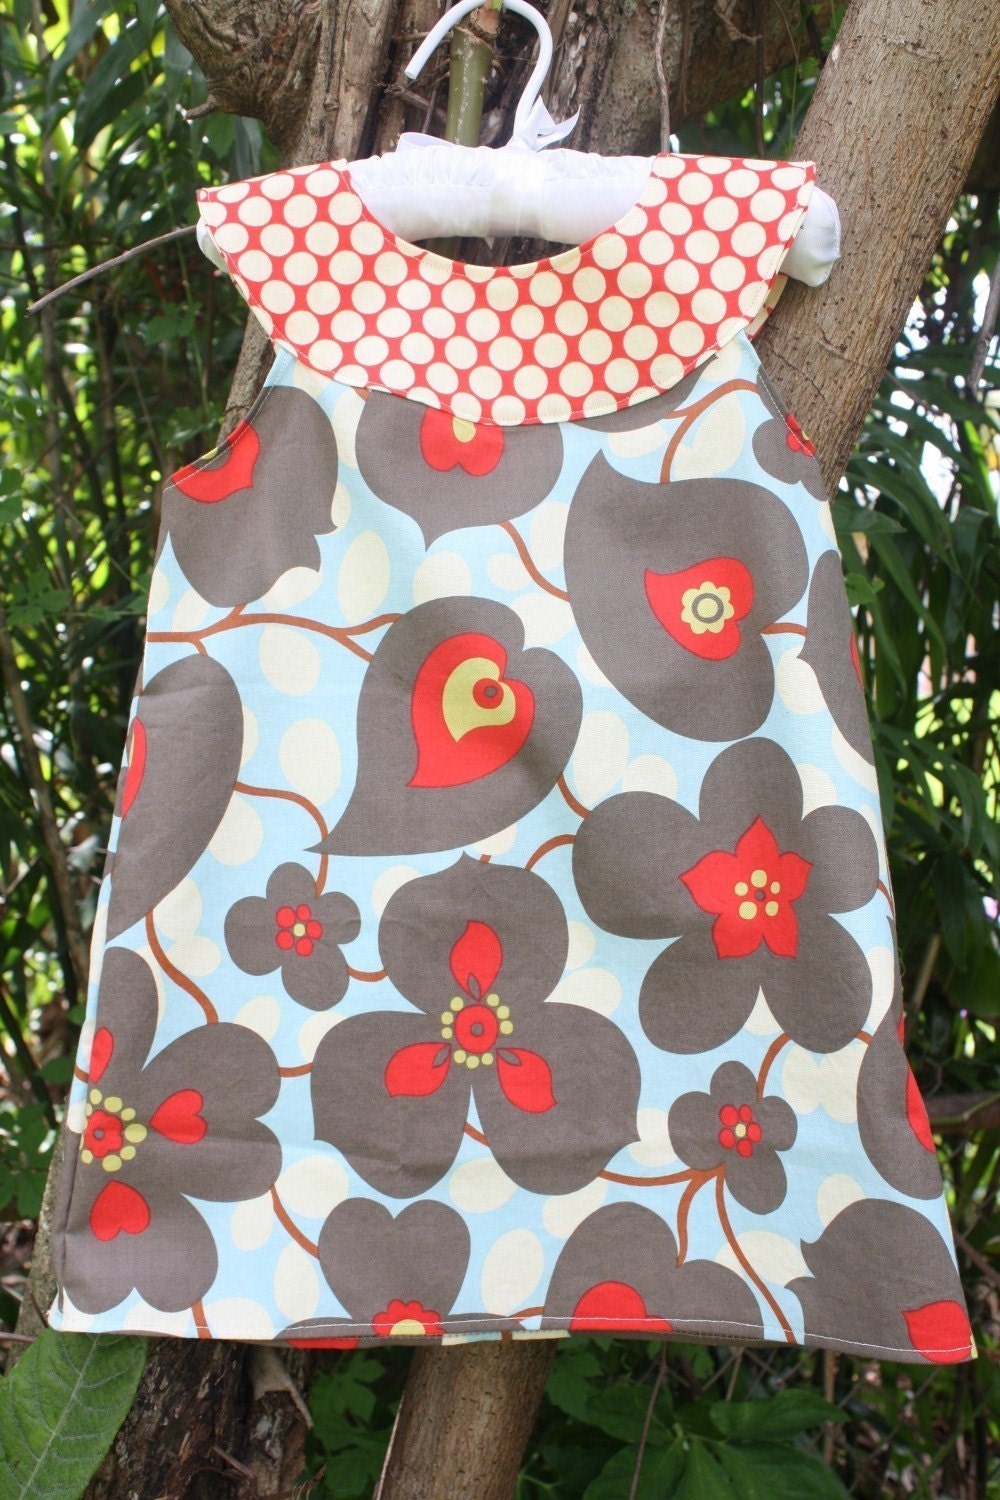
    The Abigail Mod Dress by jenoahp
    The Abigail Mod Dress by jenoahp


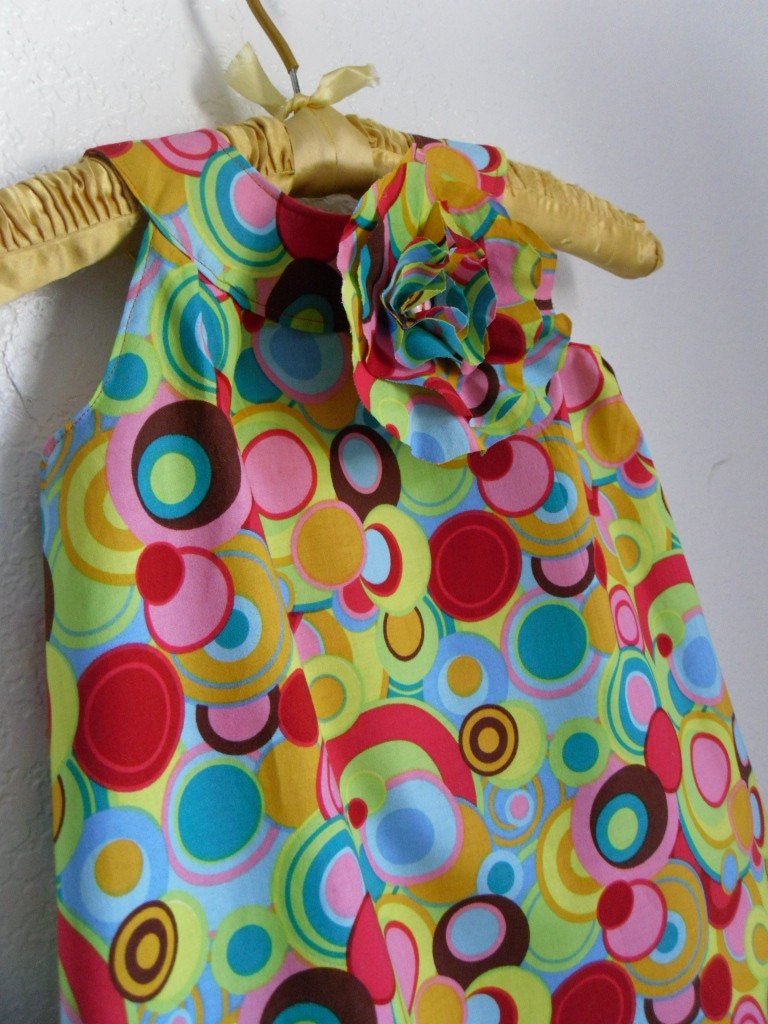
    Baby Wears Concentric Circles by KidsInTheNest
    Baby Wears Concentric Circles by KidsInTheNest


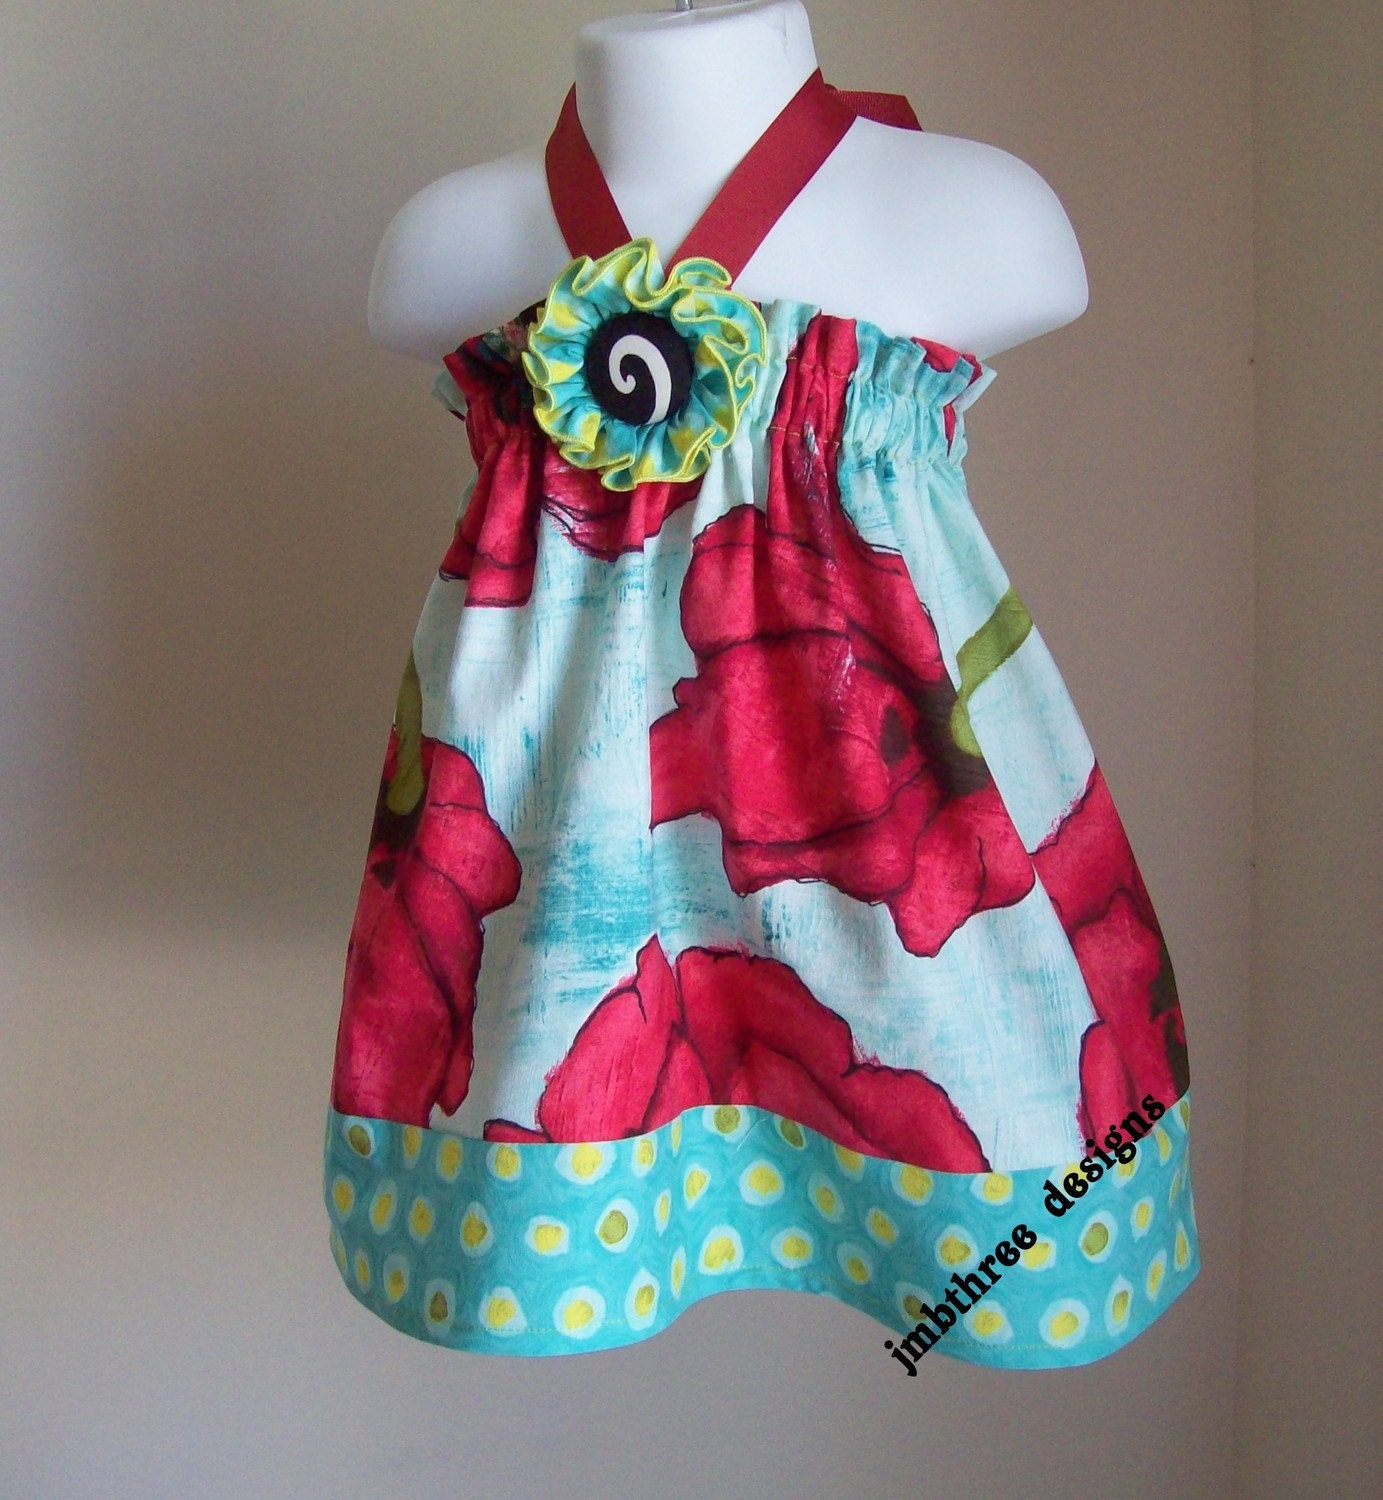
    Precious Poppys Halter Dress by JMBthreedesigns
    Precious Poppys Halter Dress by JMBthreedesigns


    Can't you just see these dresses being worn as shirts with cute leggings or shorts underneath?

    So put some money back in your pocket: hold on to those adorable teeny tiny dresses and turn them into adorable big-girl shirts, no sewing required!